Remember how my awesome brother in law GAVE me this awesome coffee table. Well I am finally getting around to my before and after of the refinish project.
I have decided that I need to actually start posting before and after photos of all the crazy things we have done to this house. (The table is IN the house so it counts. Okay.)
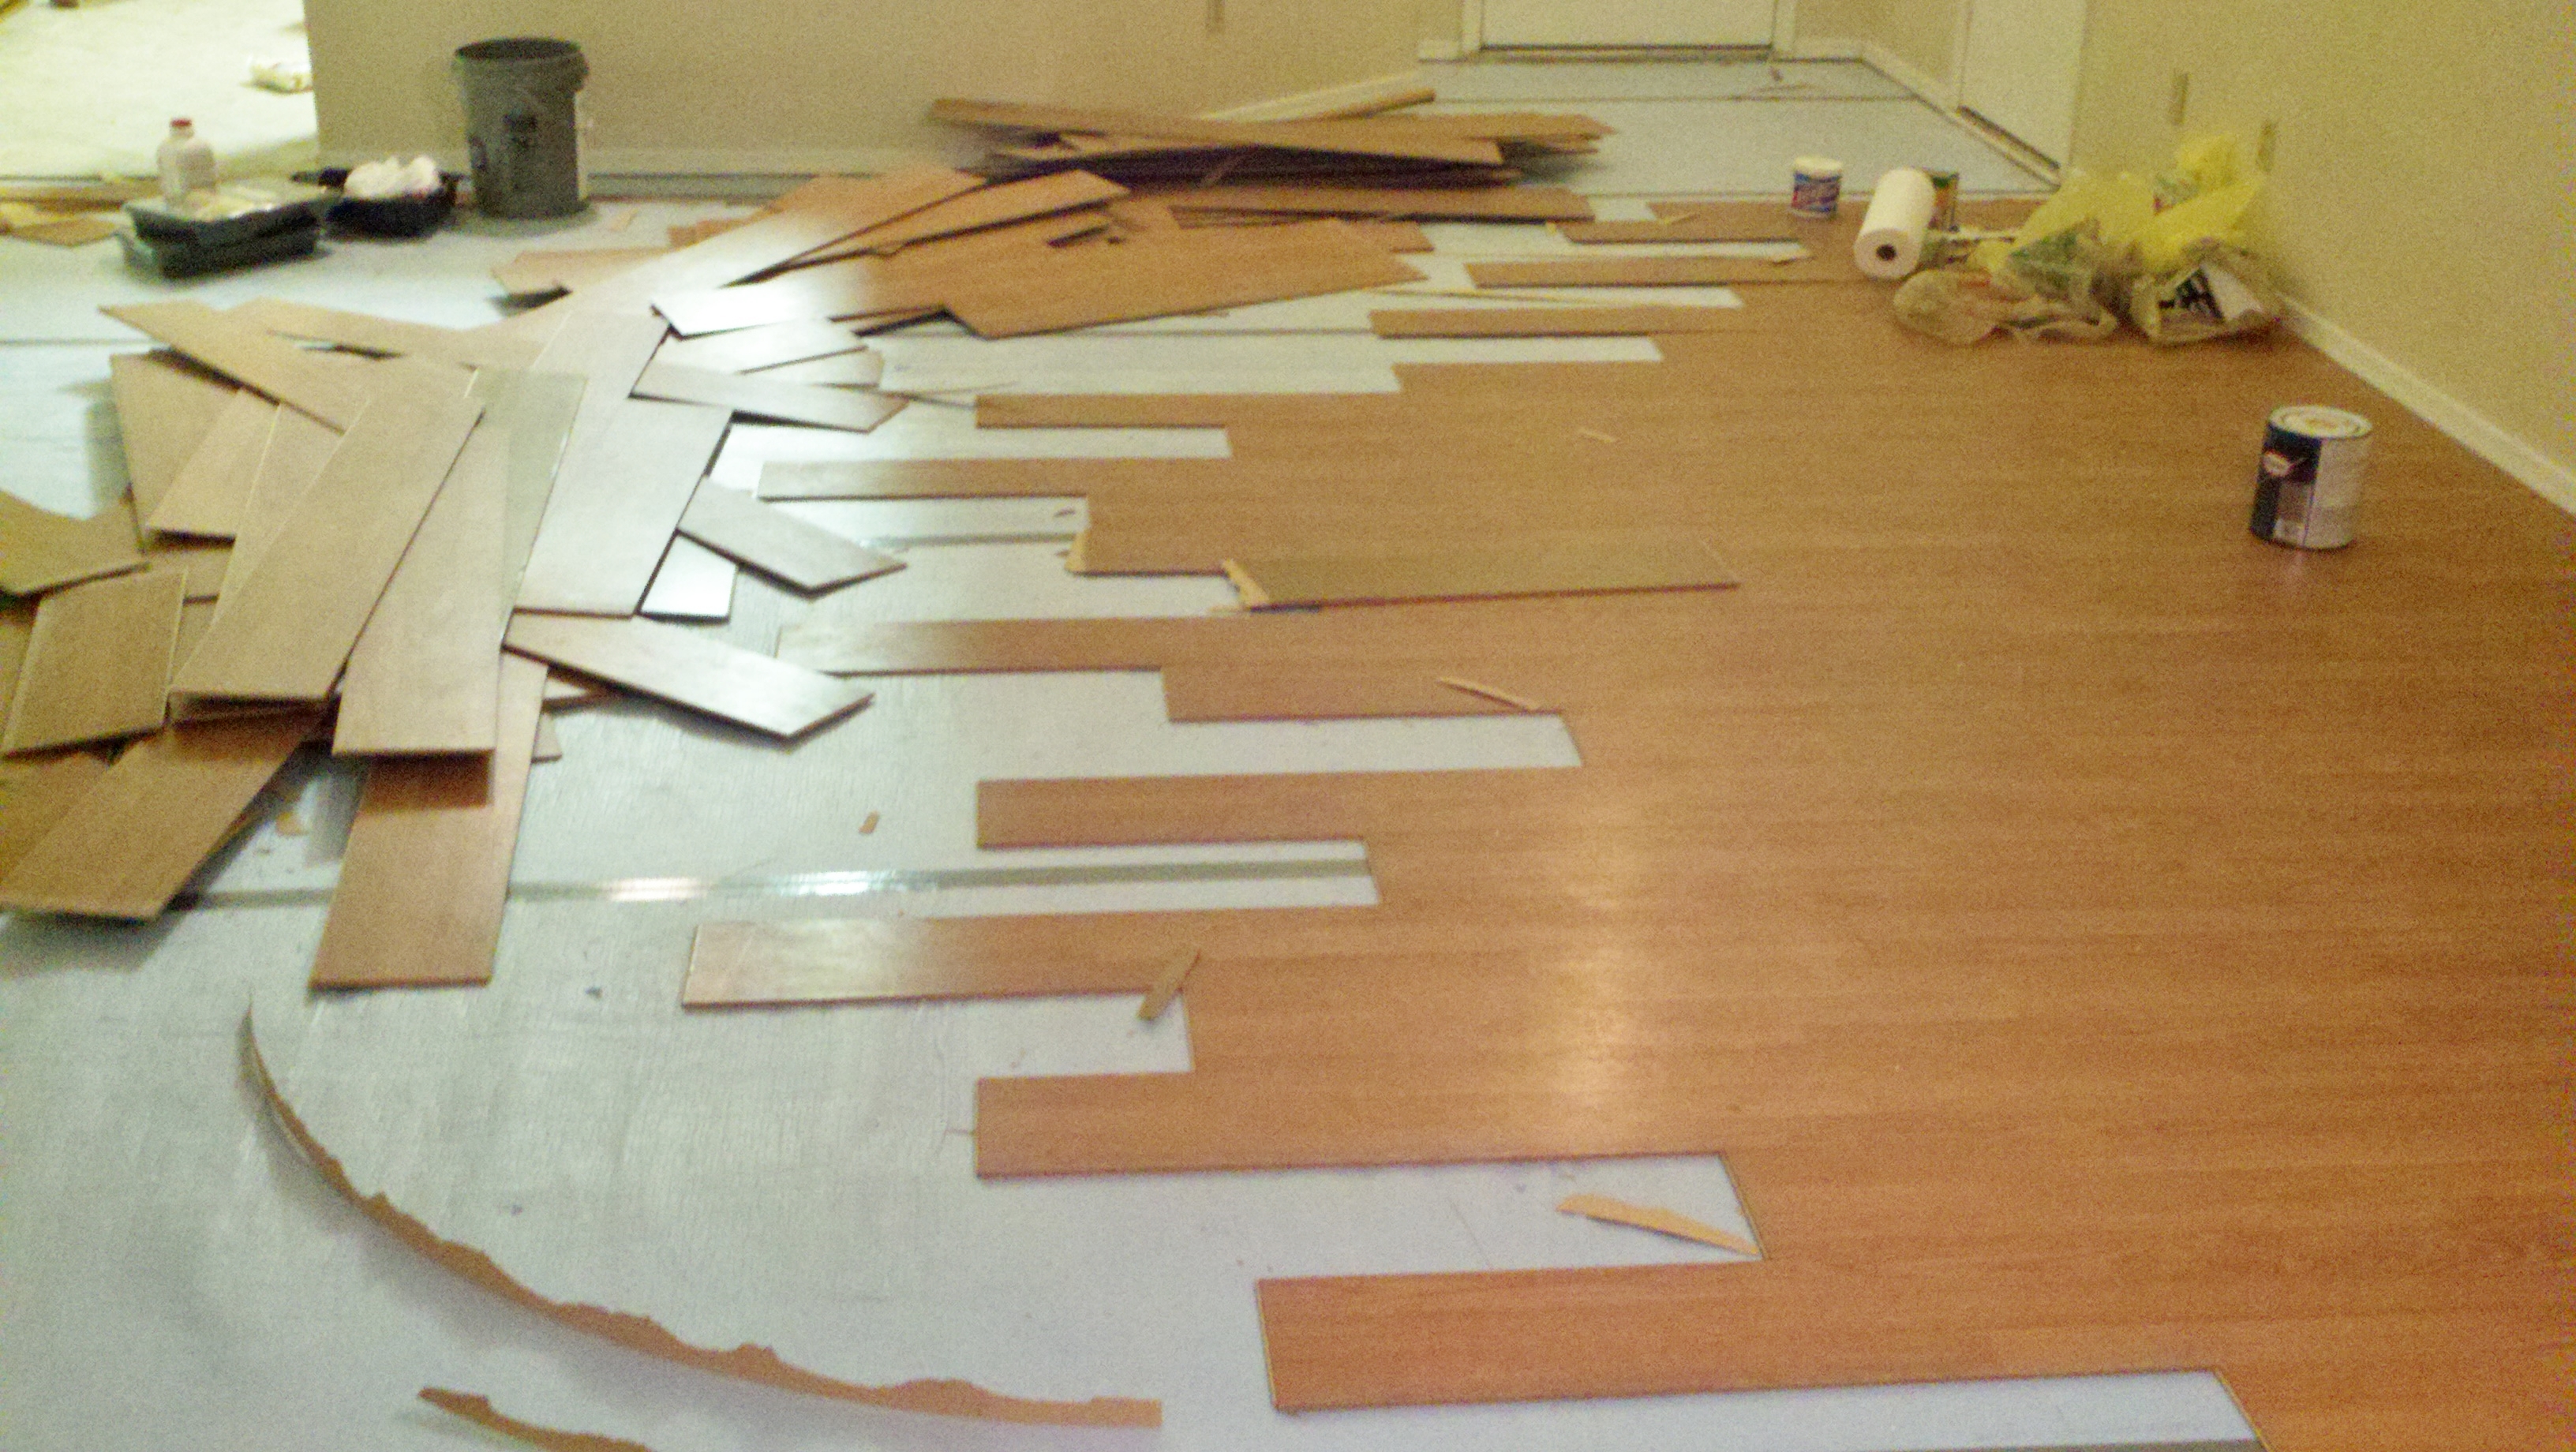
We basically gutted this house before we moved in, and have been SLOWLY trying to finish it up ever since.
The before and after photos are fun to help us remember JUST how much work we’ve done. It’s good for days when you are looking around and your eyes can only SEE the half finished work waiting for it’s turn to get loved on and finished up.
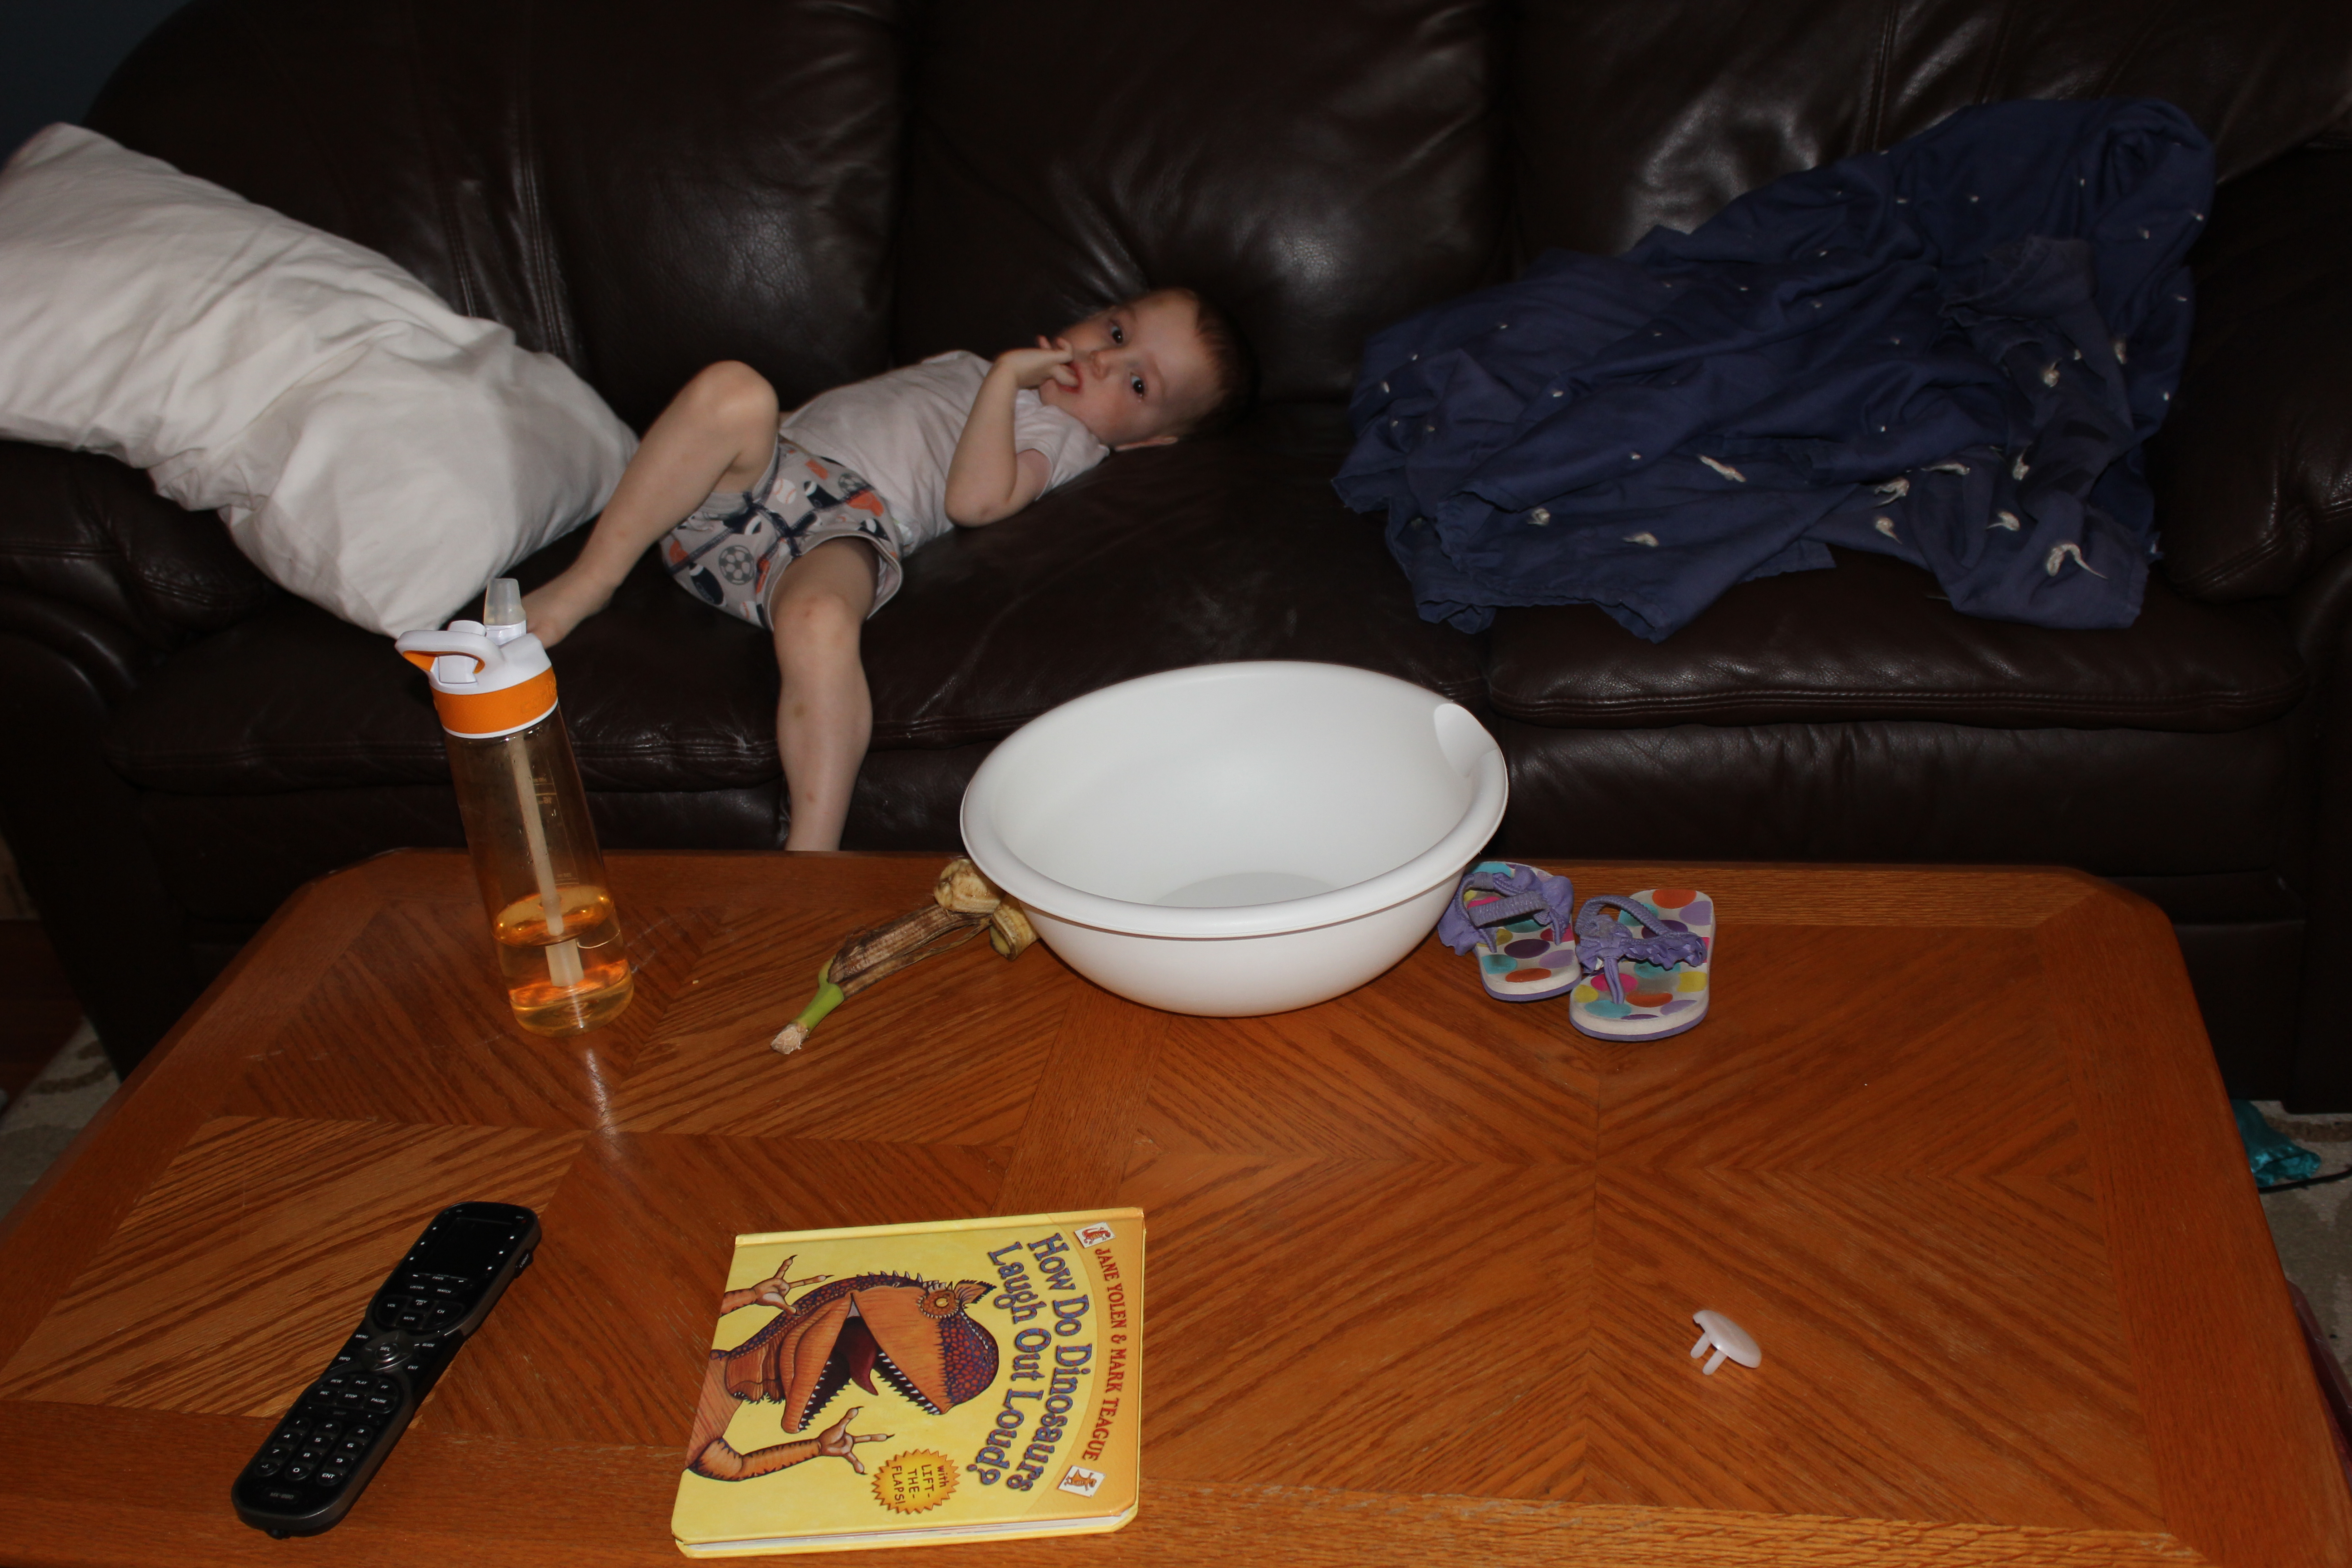
 This is my sad before picture of the table. The kids where sick, so I was taking pictures (because that’s what I do) of my sickies with their puke buckets. It was sadly the best before picture I could find.

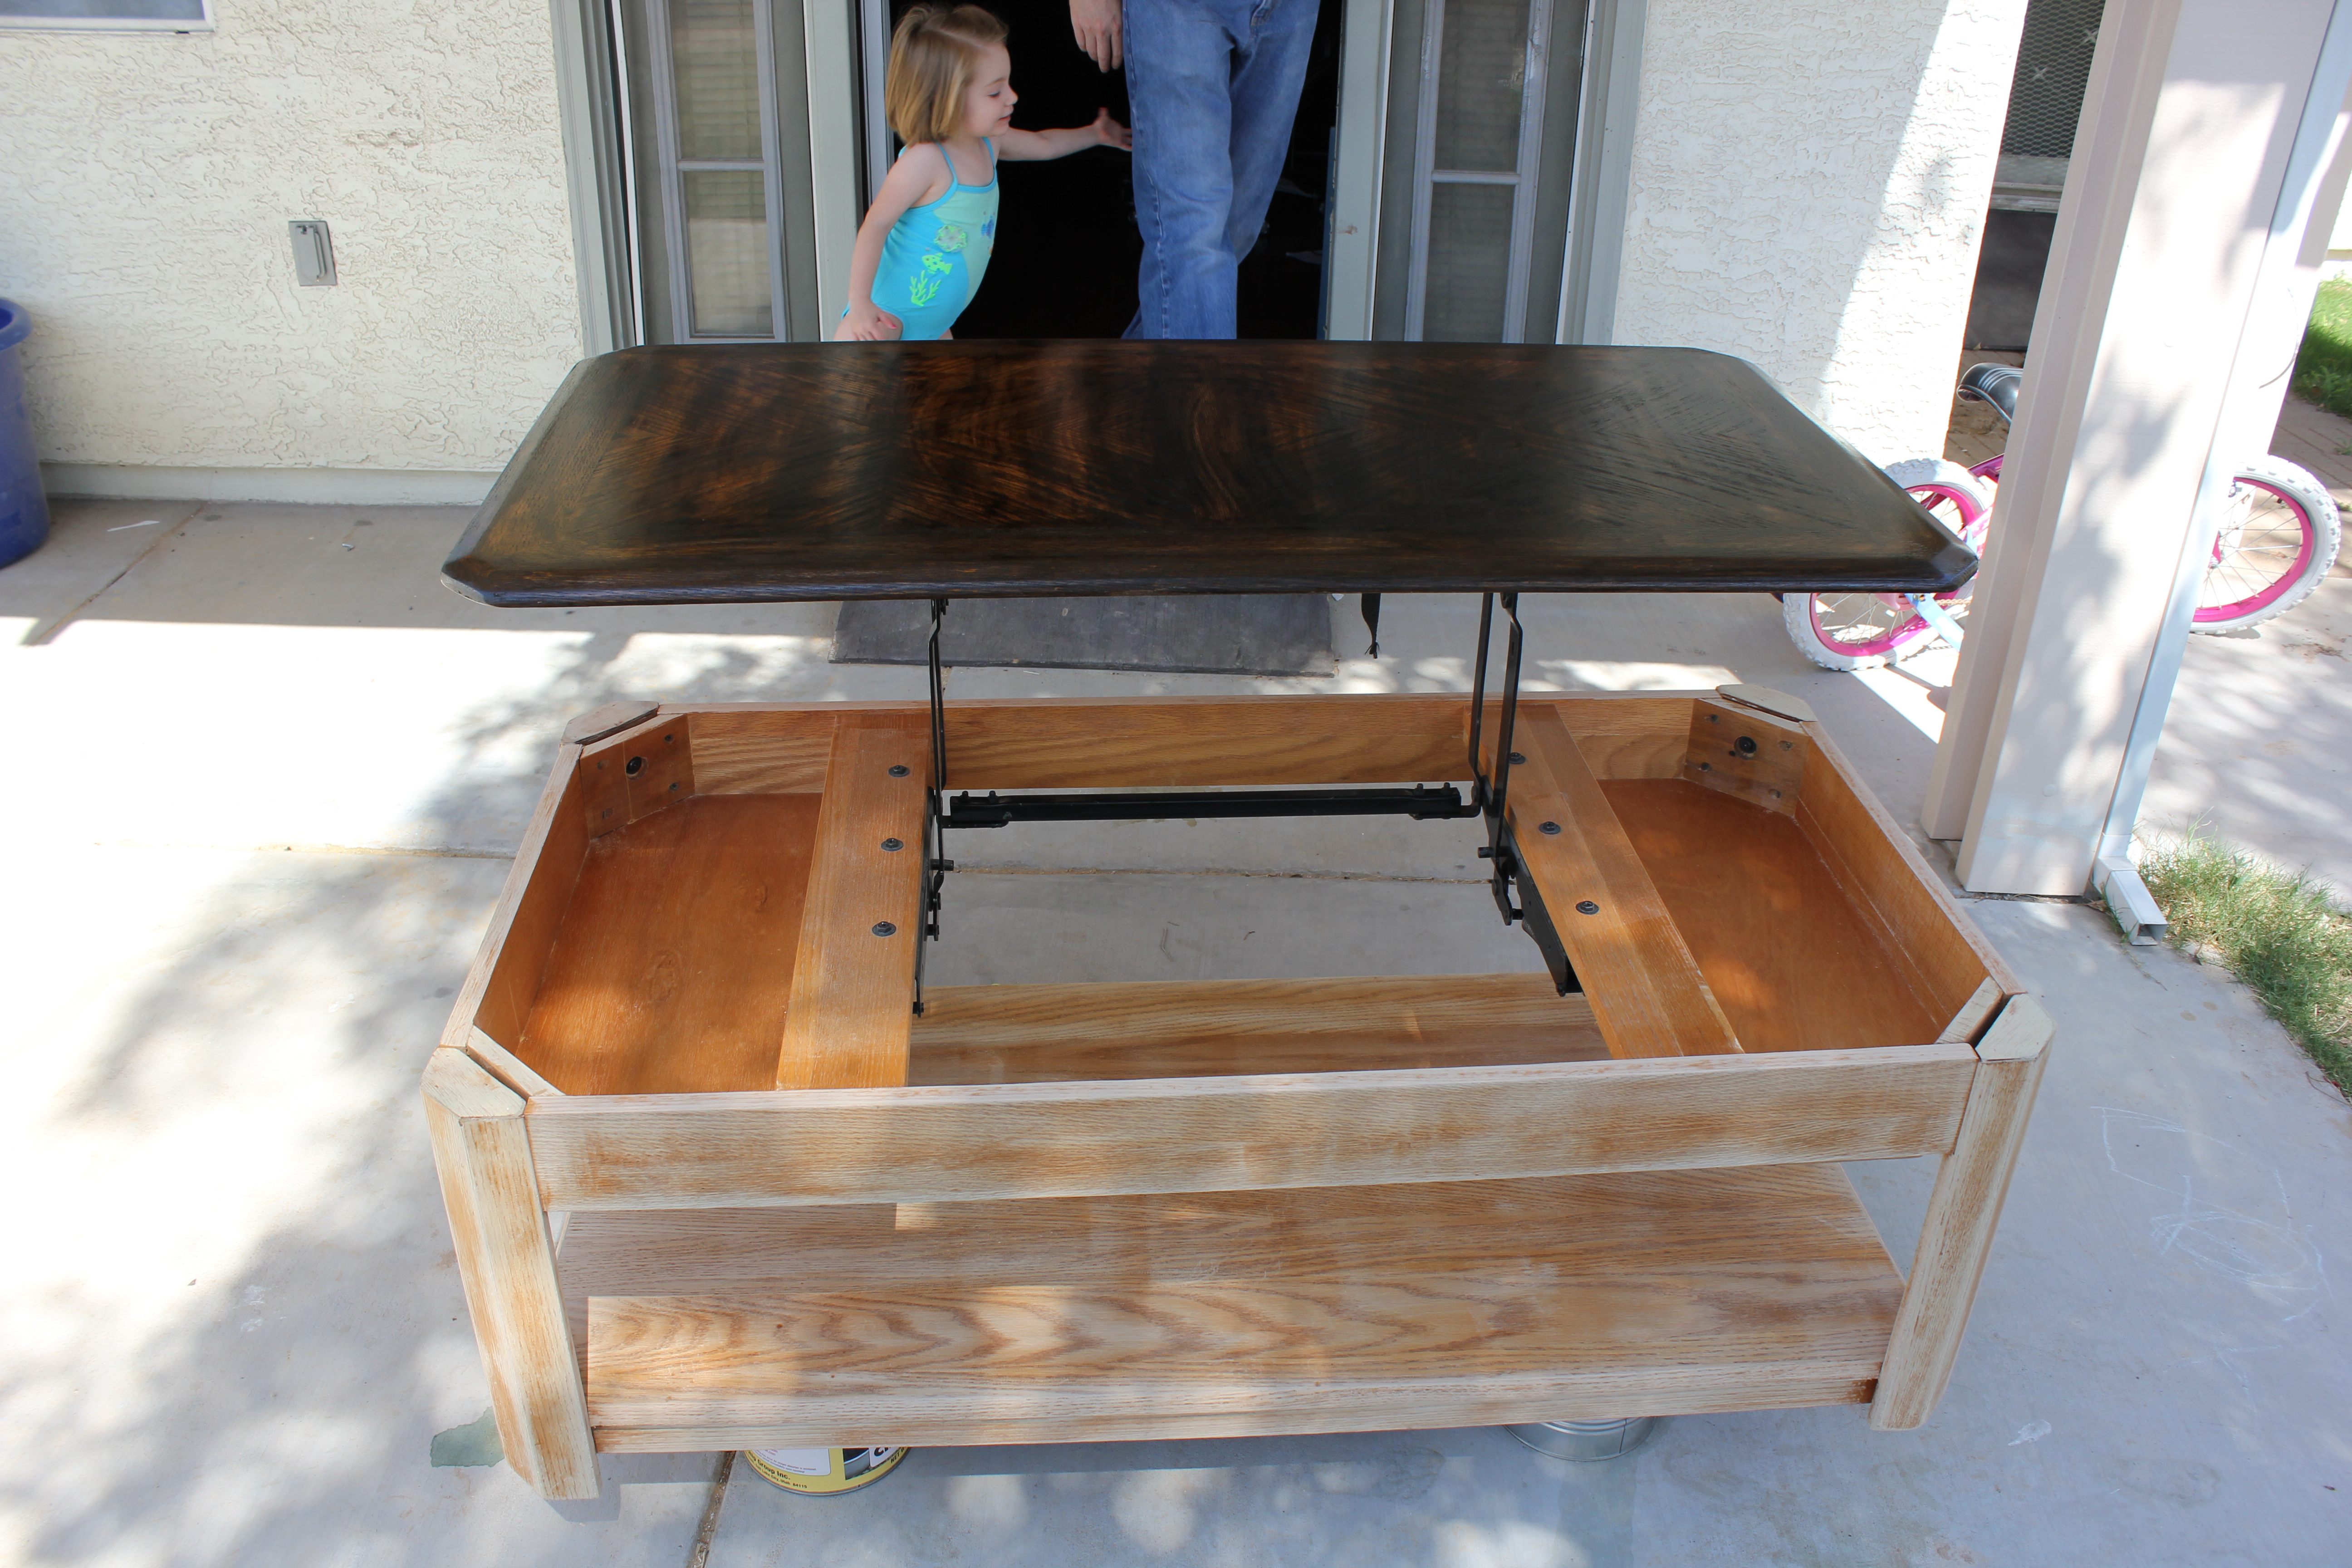
I was half way done sanding the top when Jon came out to ask me if I had taken a before photo. DOH! I was not too worried because I was positive I had a decent one to use. But I didn’t, and that’s okay.

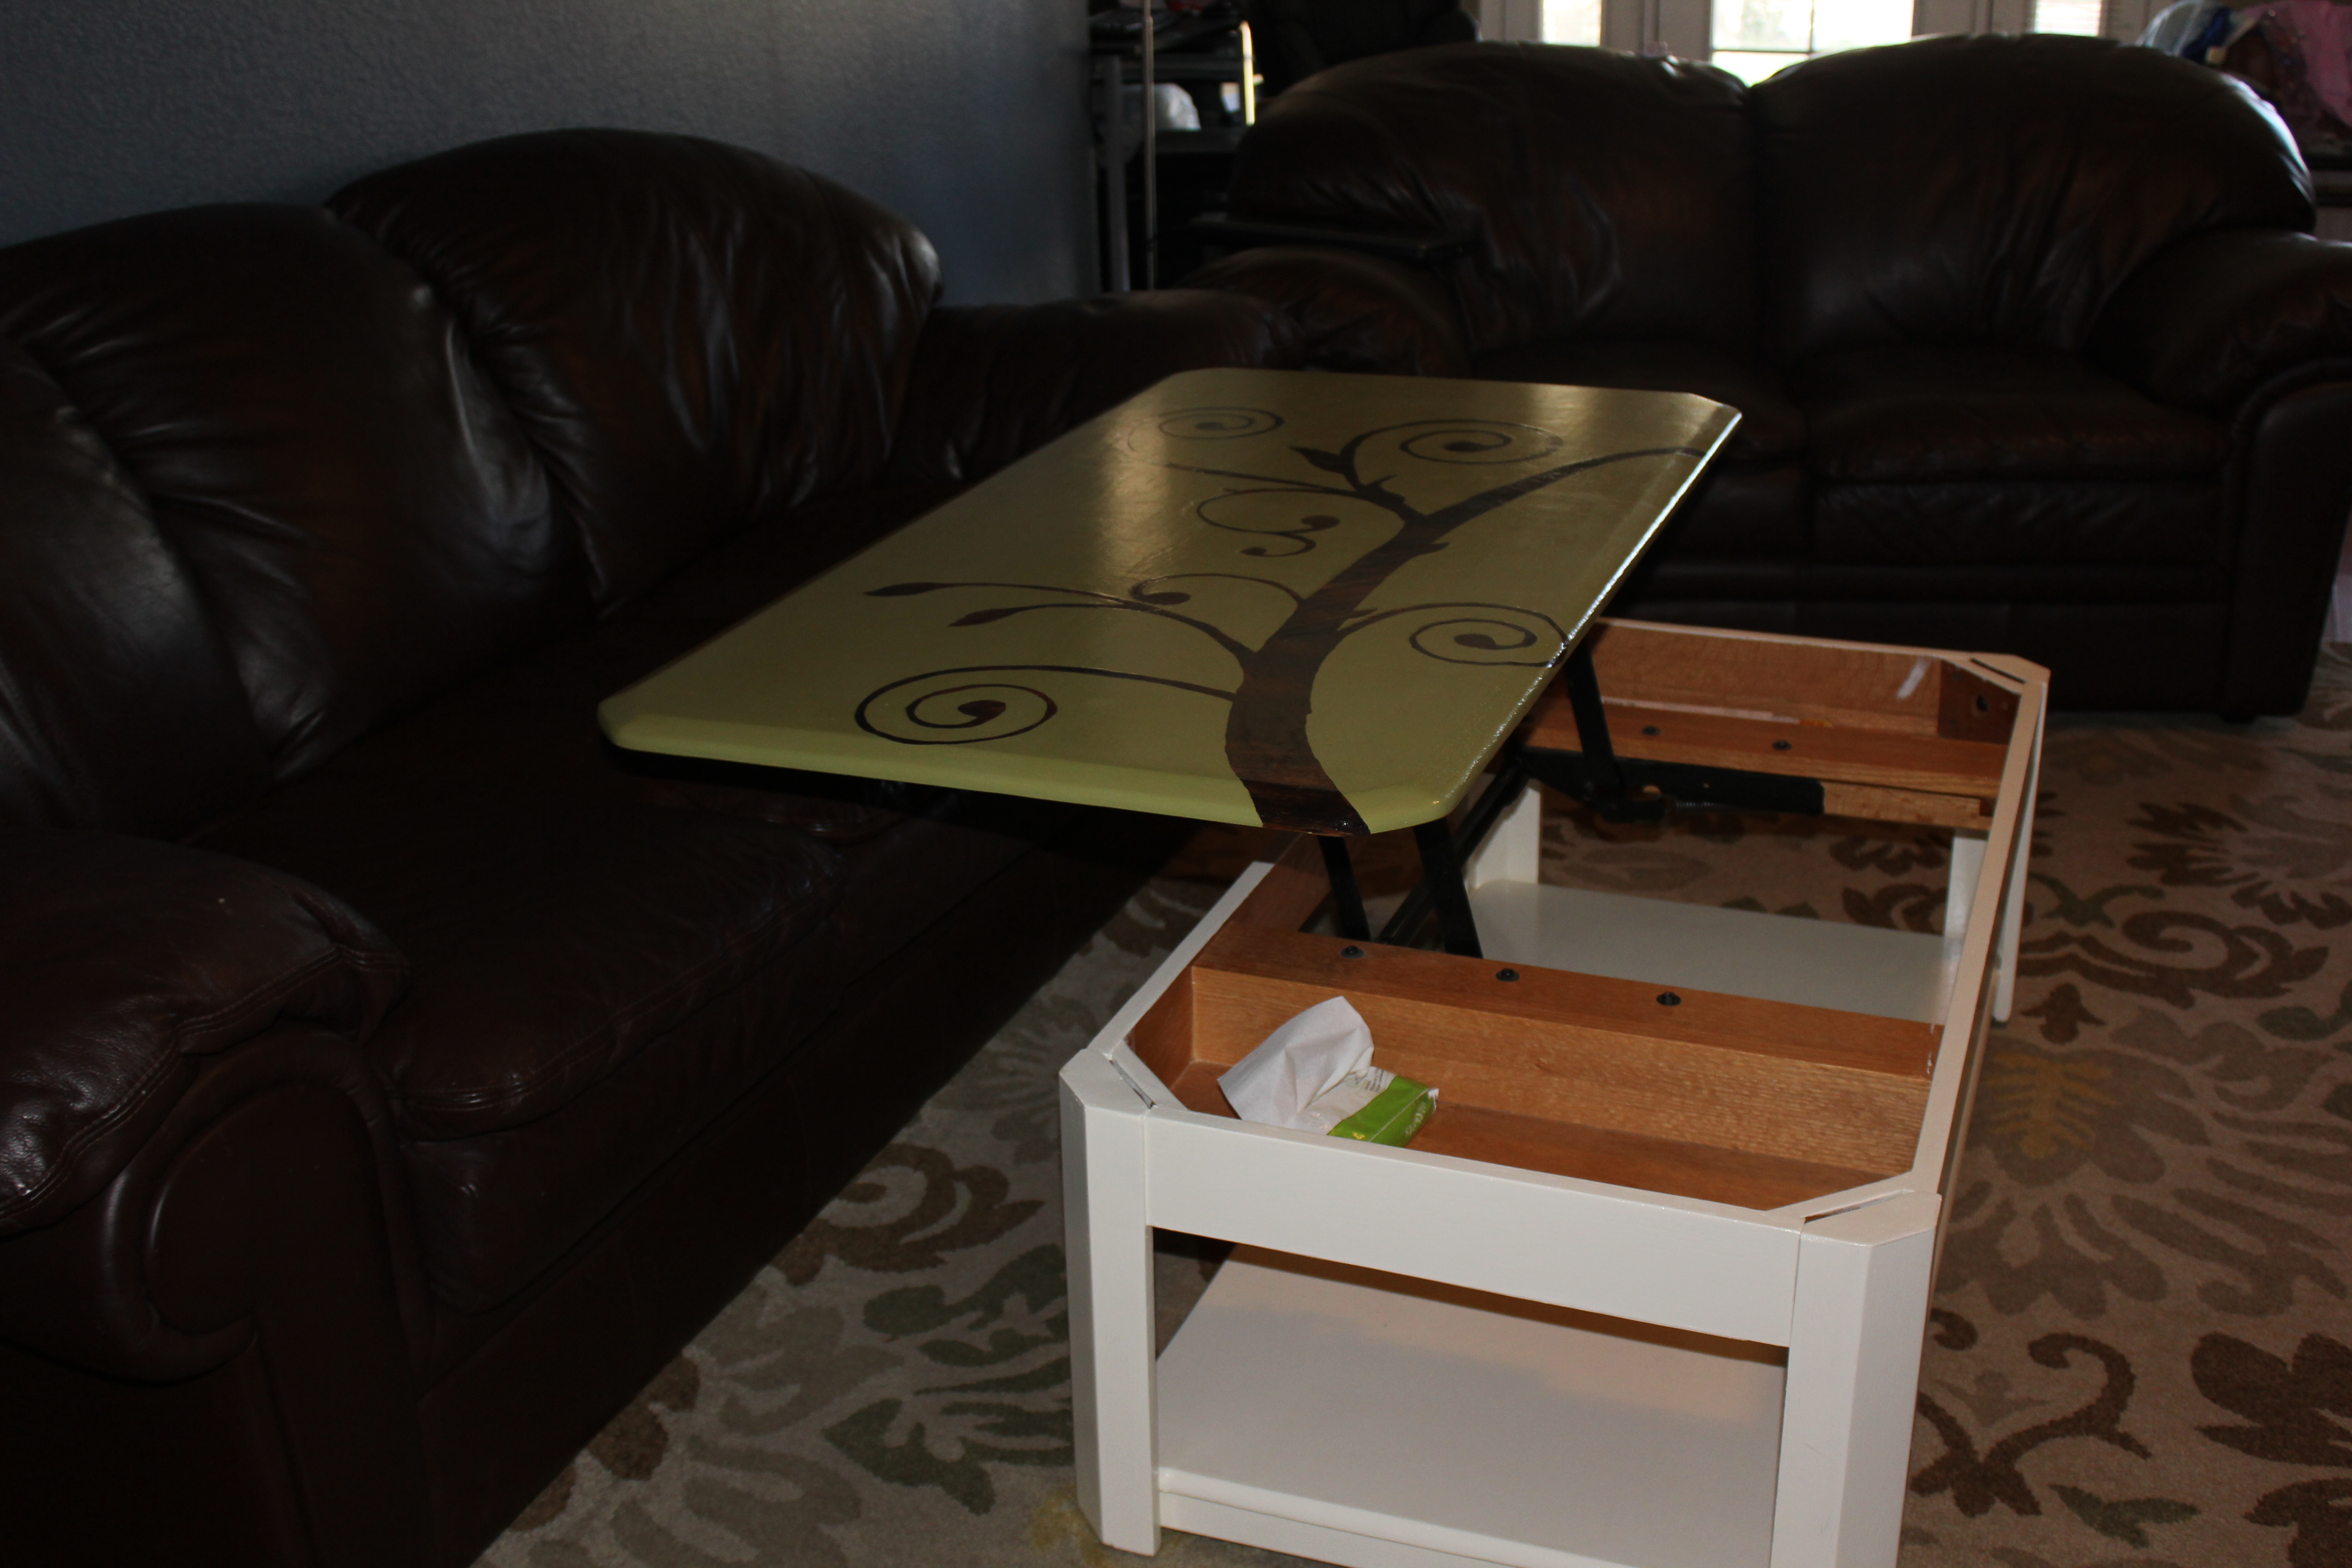
So I sanded it all down, then I stained just the top a nice dark walnut. And painted the base a light creamy off white that I mixed up from left over paint. I was trying to keep the whole project under $10. Which I did!

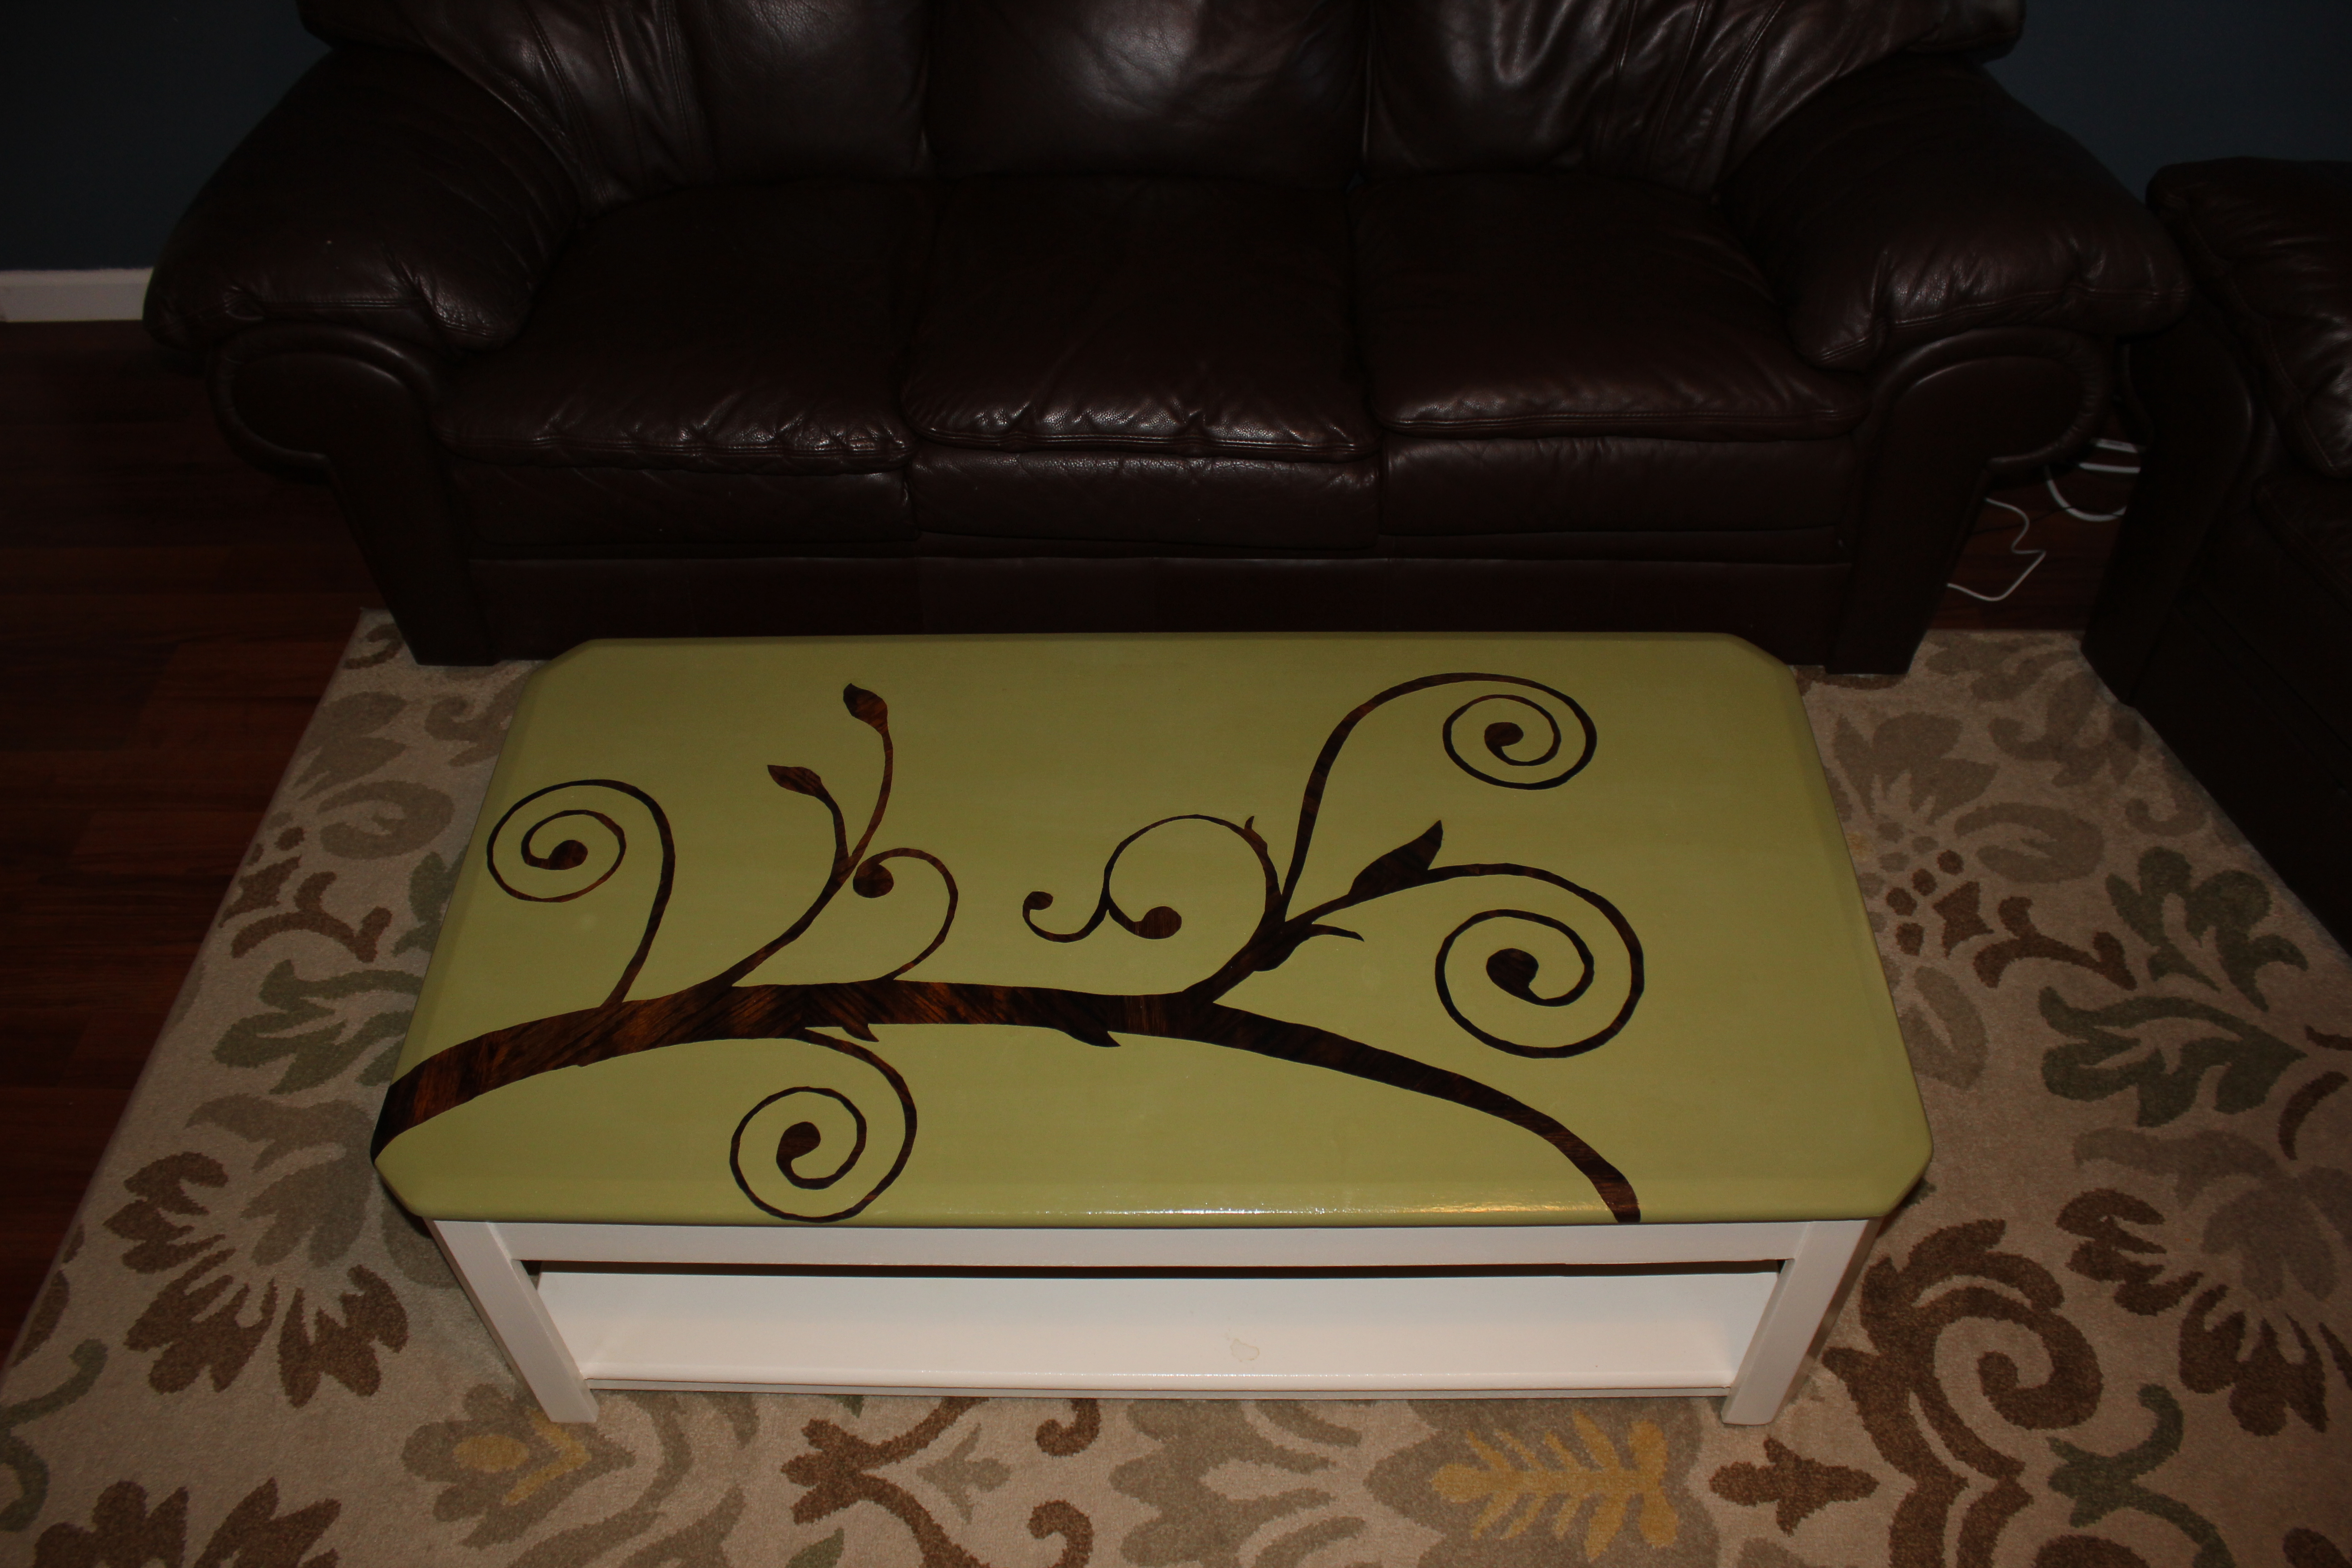
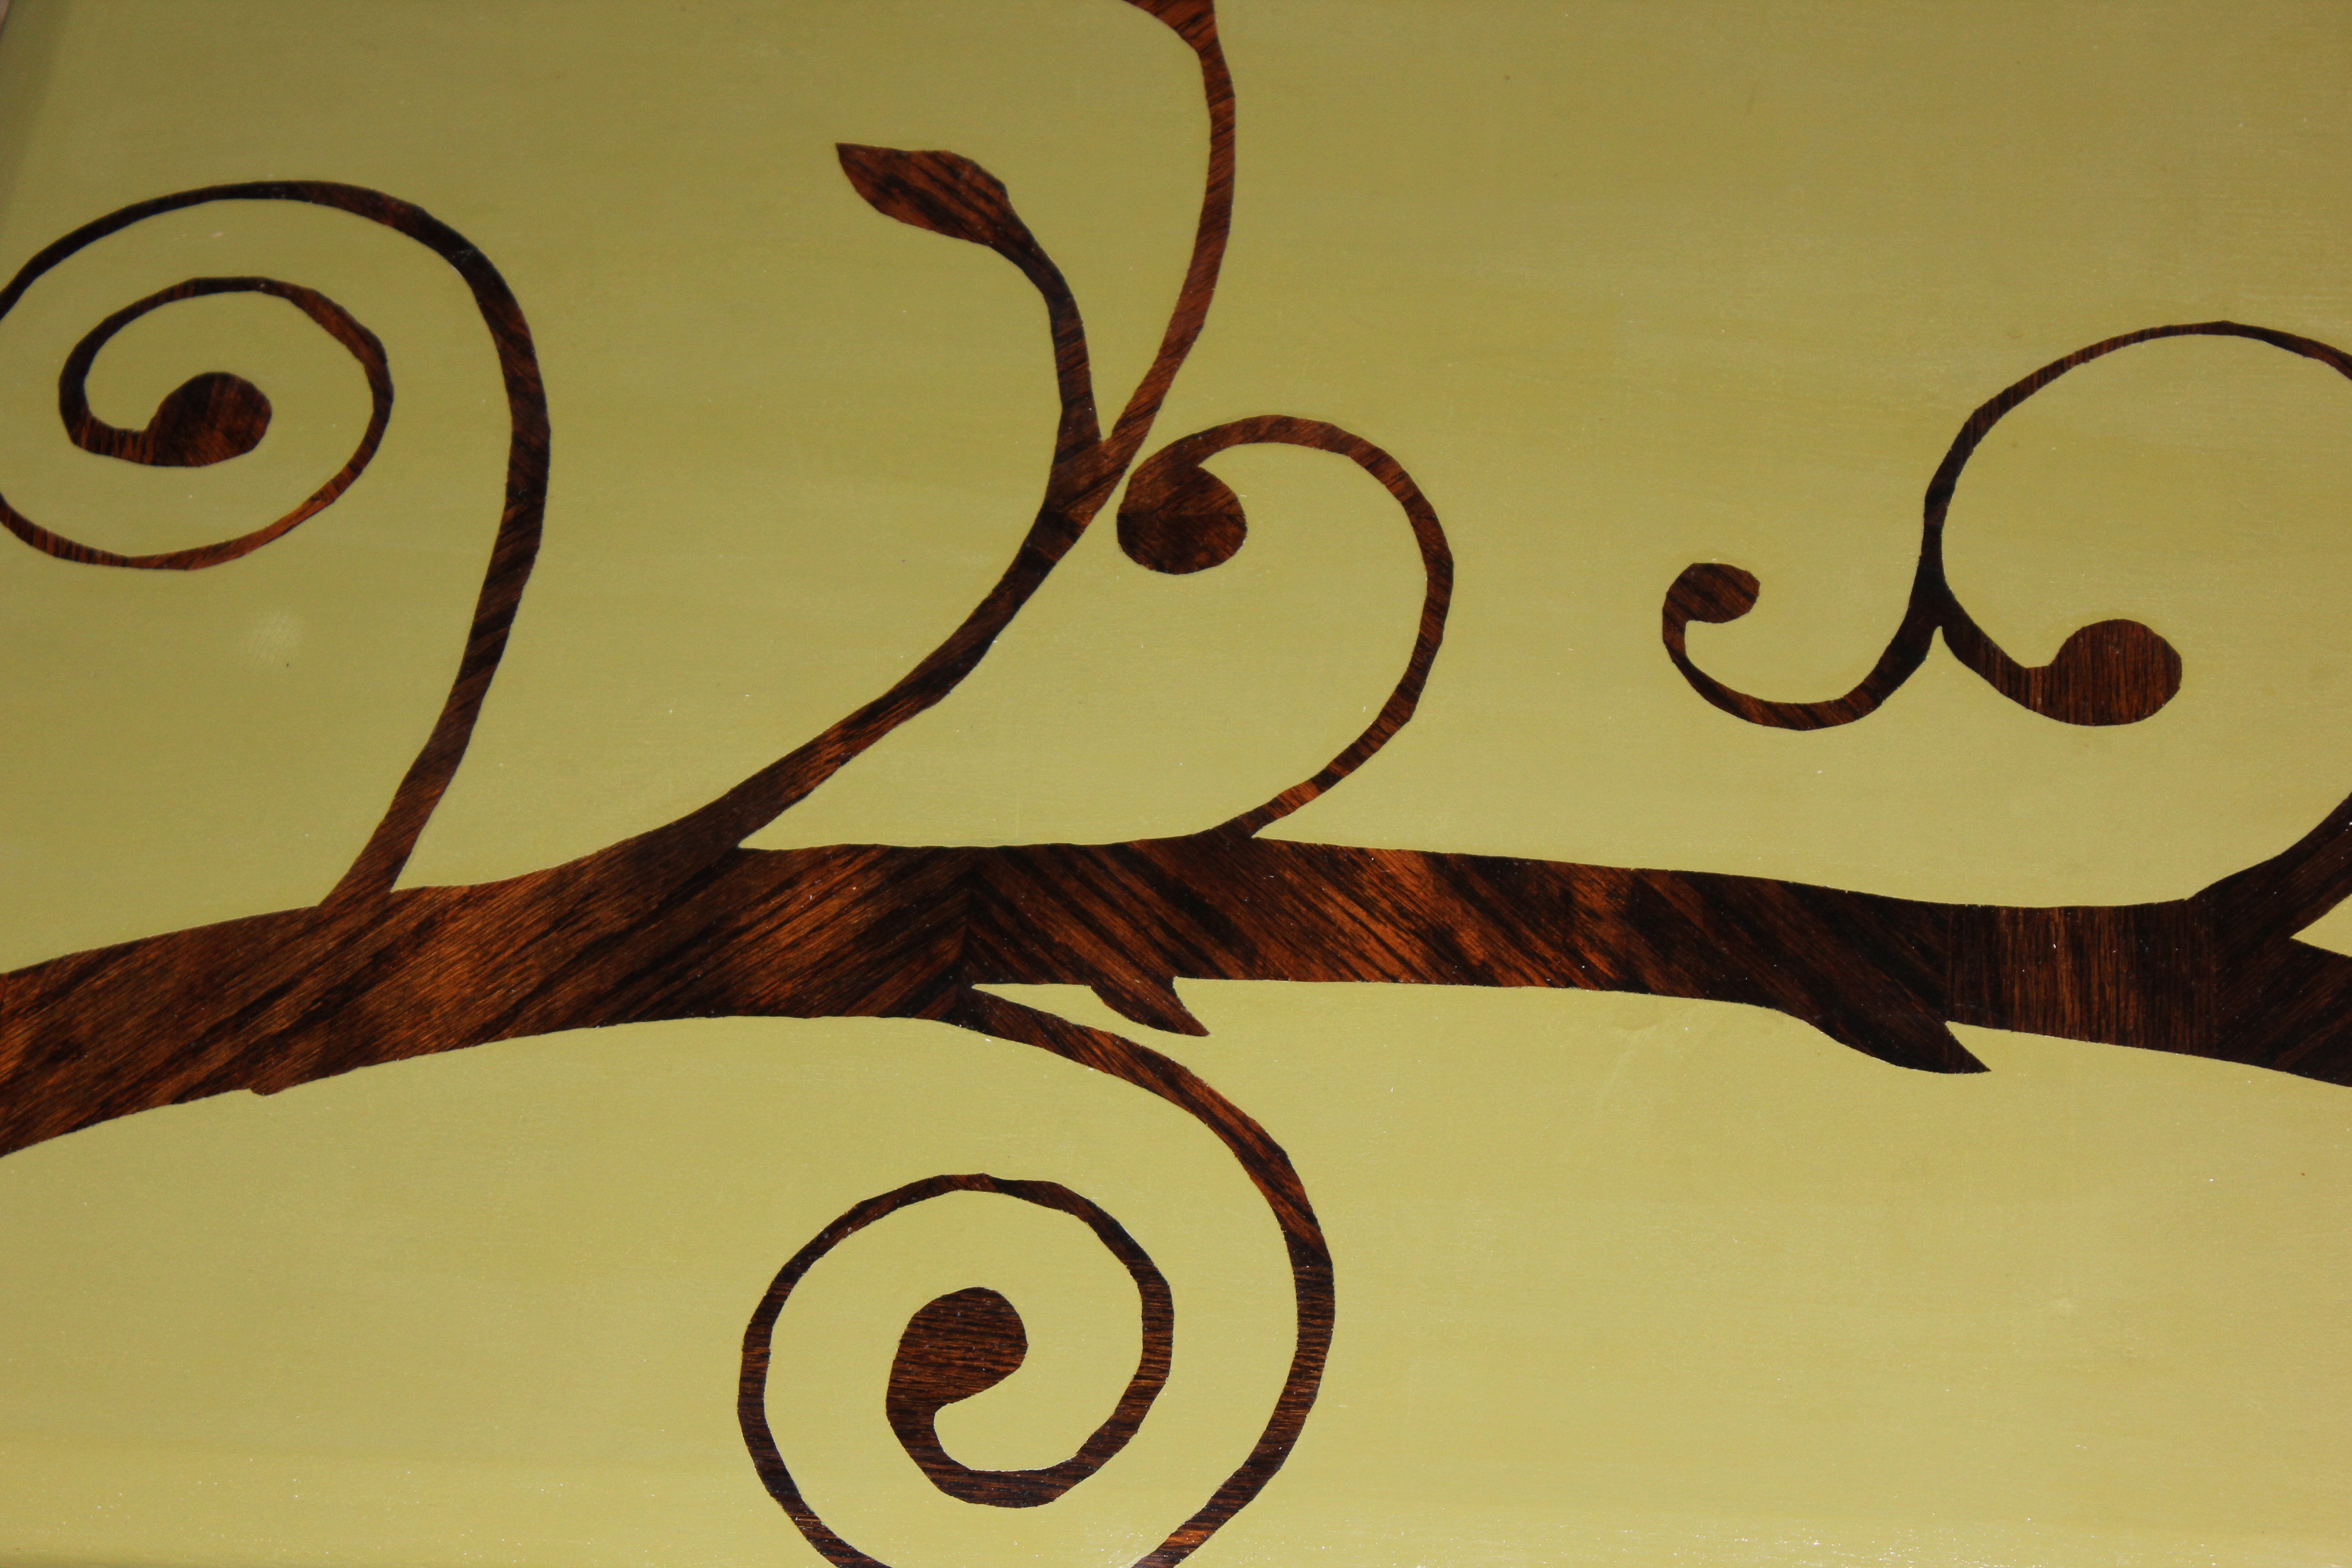
I did the rest of the painting in the garage because it got windy outside, and I didn’t want any debris getting stuck on the table. When it was all dry I covered what I needed to on the top with Frog Tape, then cut out my design. I don’t have a cutting machine, or vinyl so the Frog tape was my quick and dirty fix. It worked beautifully.

Then I painted over the whole thing with my lovely shade of (looks better in person) green oops paint. I did two coats of paint, and peeled the tape off when the paint was still wet.

When the paint dried I slapped a bazzillon coats of Polycrylic (about 6 letting it dry between coats) on it to help protect it from the children. And it has. Nail polish come right off. As does sharpie.

I was far too lazy to sand paint and poly the inside. BUT I may actually do it someday. This table gets used and abused, and has held up wonderfully.
We LOVE it so much. It has wonderful rounded corners, is on wheels(SO easy to move for vacuuming!), and the part we like the best is that the top lifts up to be a giant t.v. tray. Great for eating, coloring, crafting, whatever….
The boys (Jon and Josh) like that it matches the area rug. The “matching” was a total happy accident.
The inspiration for this refinishing technique came from here. When I first told the boys what my plans were, they gave me the “Janice is wearing her CrAzY pants again” look. I get that look often along with the “you have like three heads right now” look.
So I pulled up her site to SHOW them and they where all like, “Oh, okay. What ever you want to do is fine.”
And you know what? They love it.
My oops paint I bought months before on a whim because I LOVED the color, and it was a gallon of nice paint for under $5. So ya, it came home with me even though I have no plane for it yet.
I spent a couple bucks on a teeny tiny sample of stain, and had more than enough. And a couple more bucks on the Frog tape. I came in just under my $10 goal which make me giddy and love this table even more.
I told Jon it’s really more like under $5 since the paint was already at home, and we didn’t count the poly as it was leftover from previous projects. He said, “Suuure….”
 Can you believe that Josh didn’t like the door knobs in this house?! I kid. They were not anyone’s cup of tea.
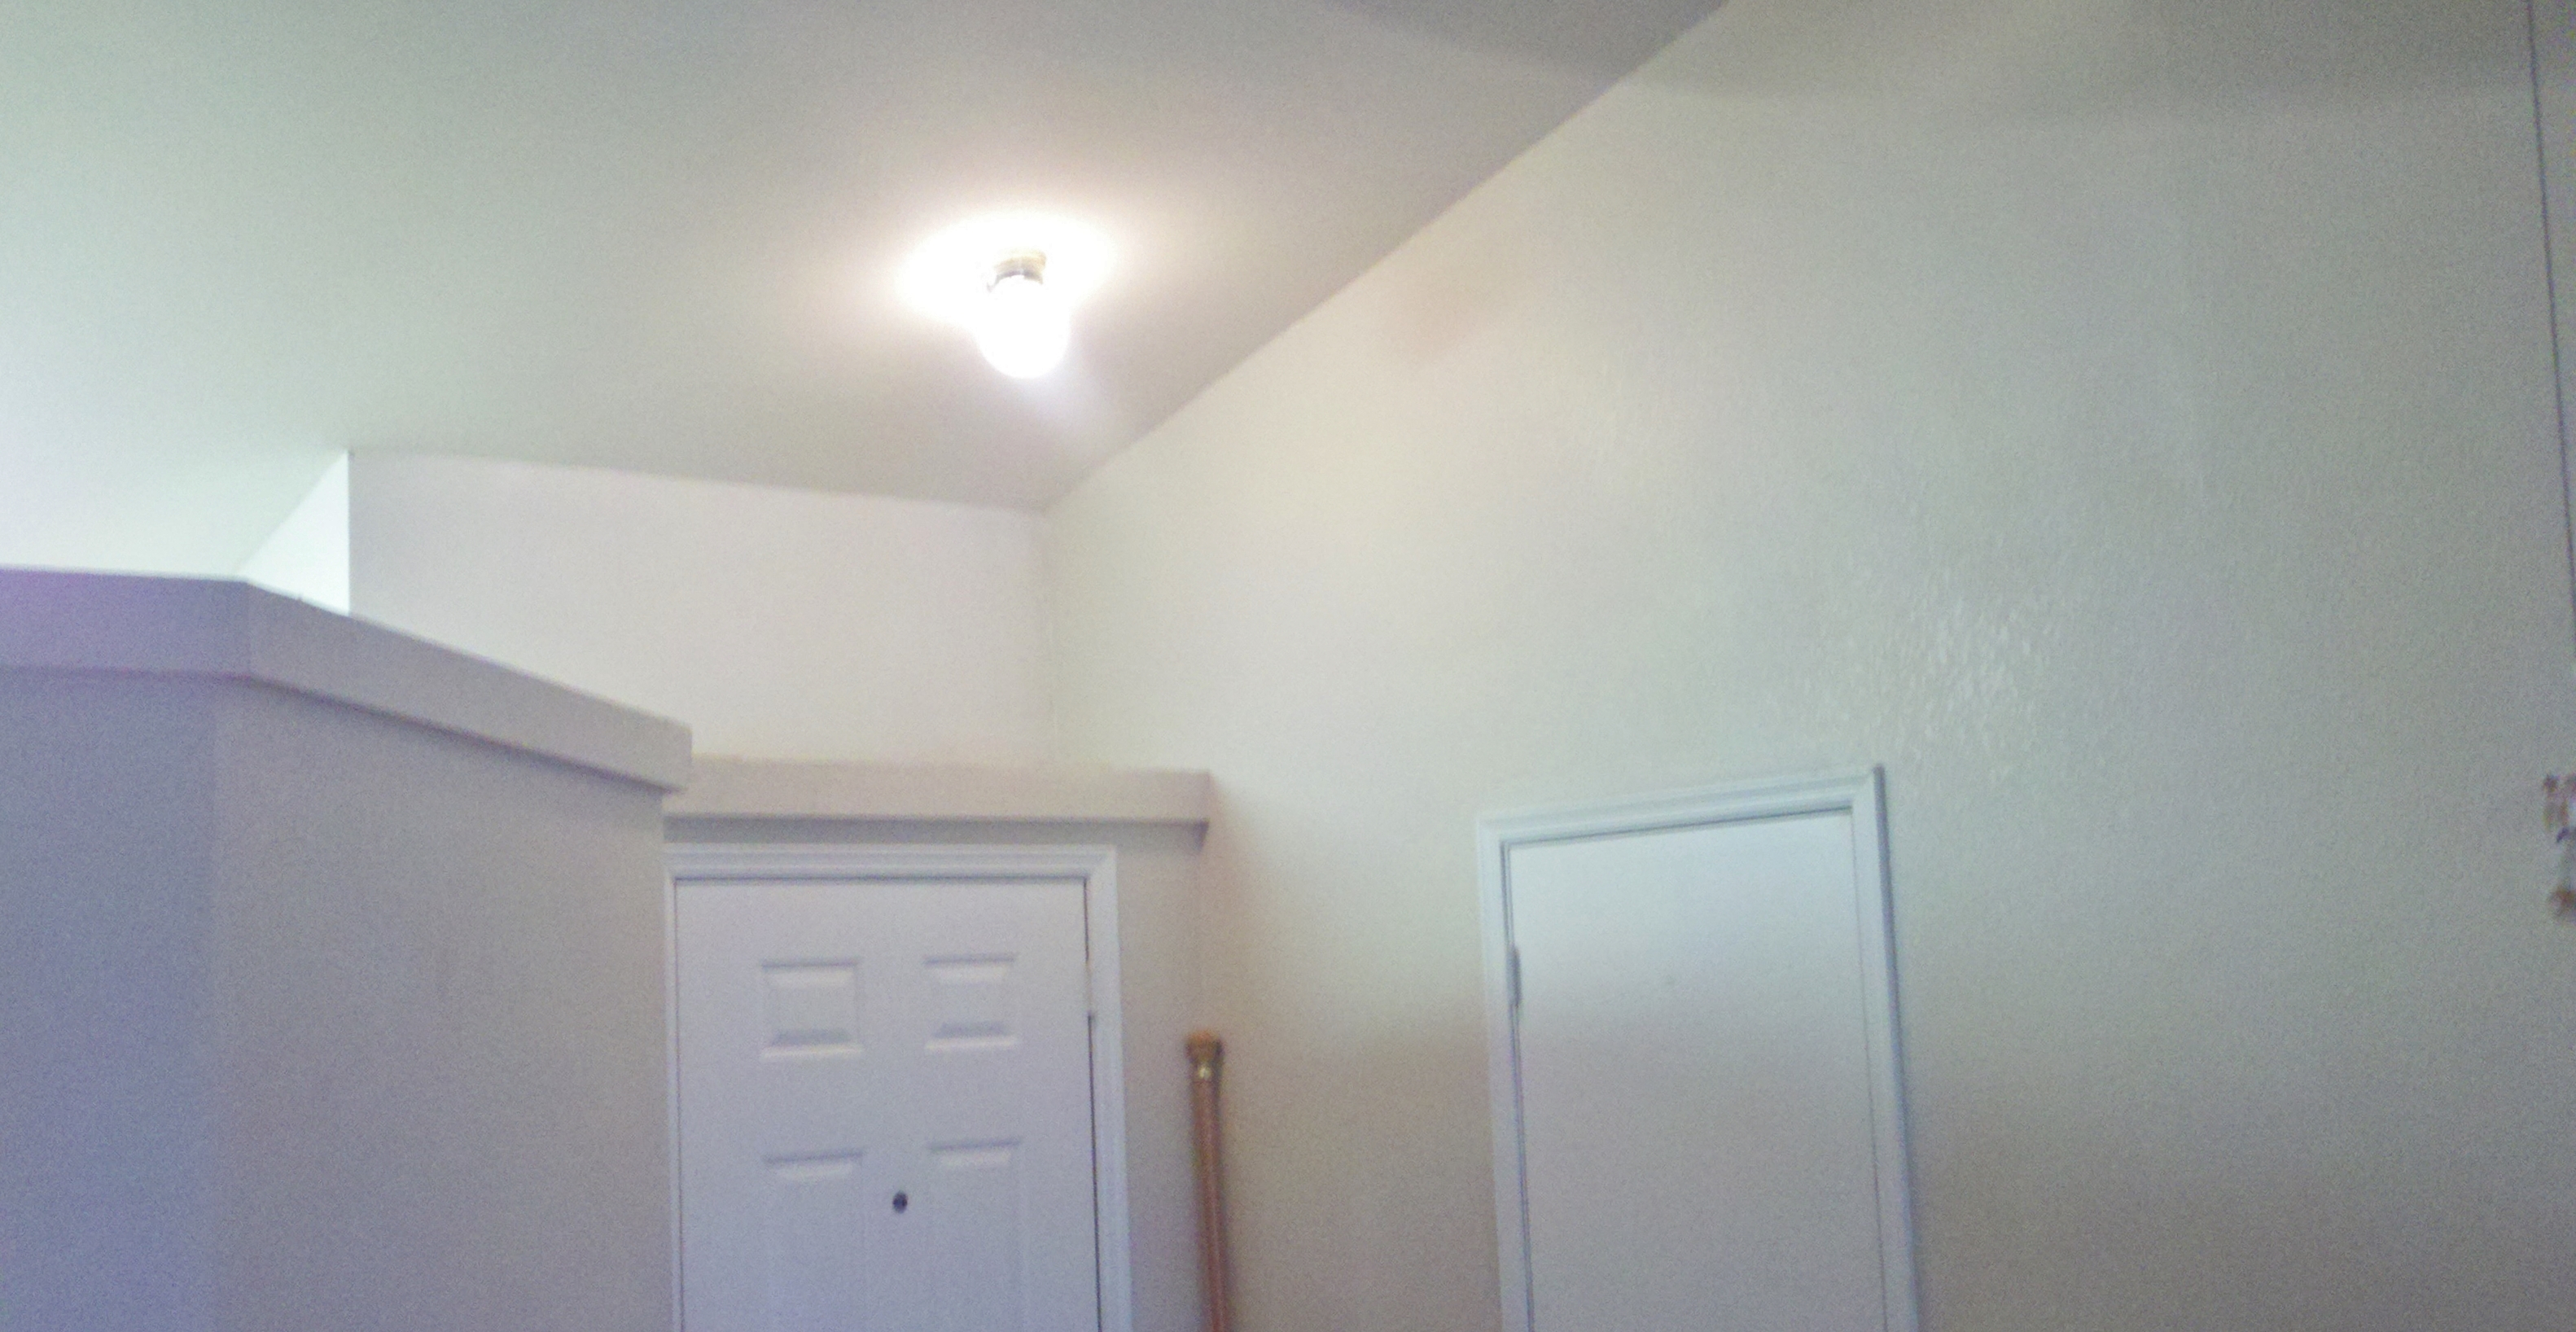

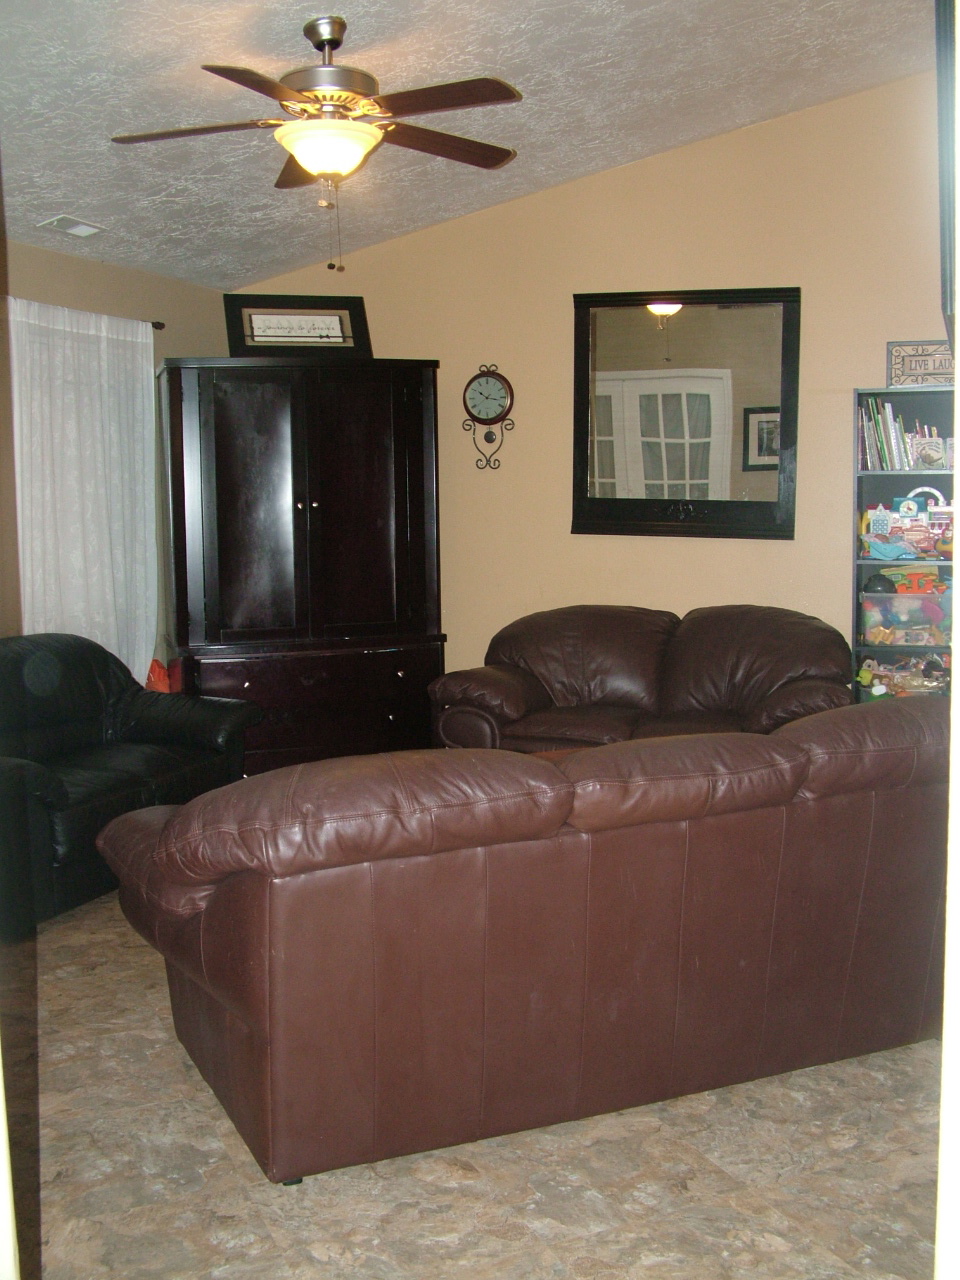
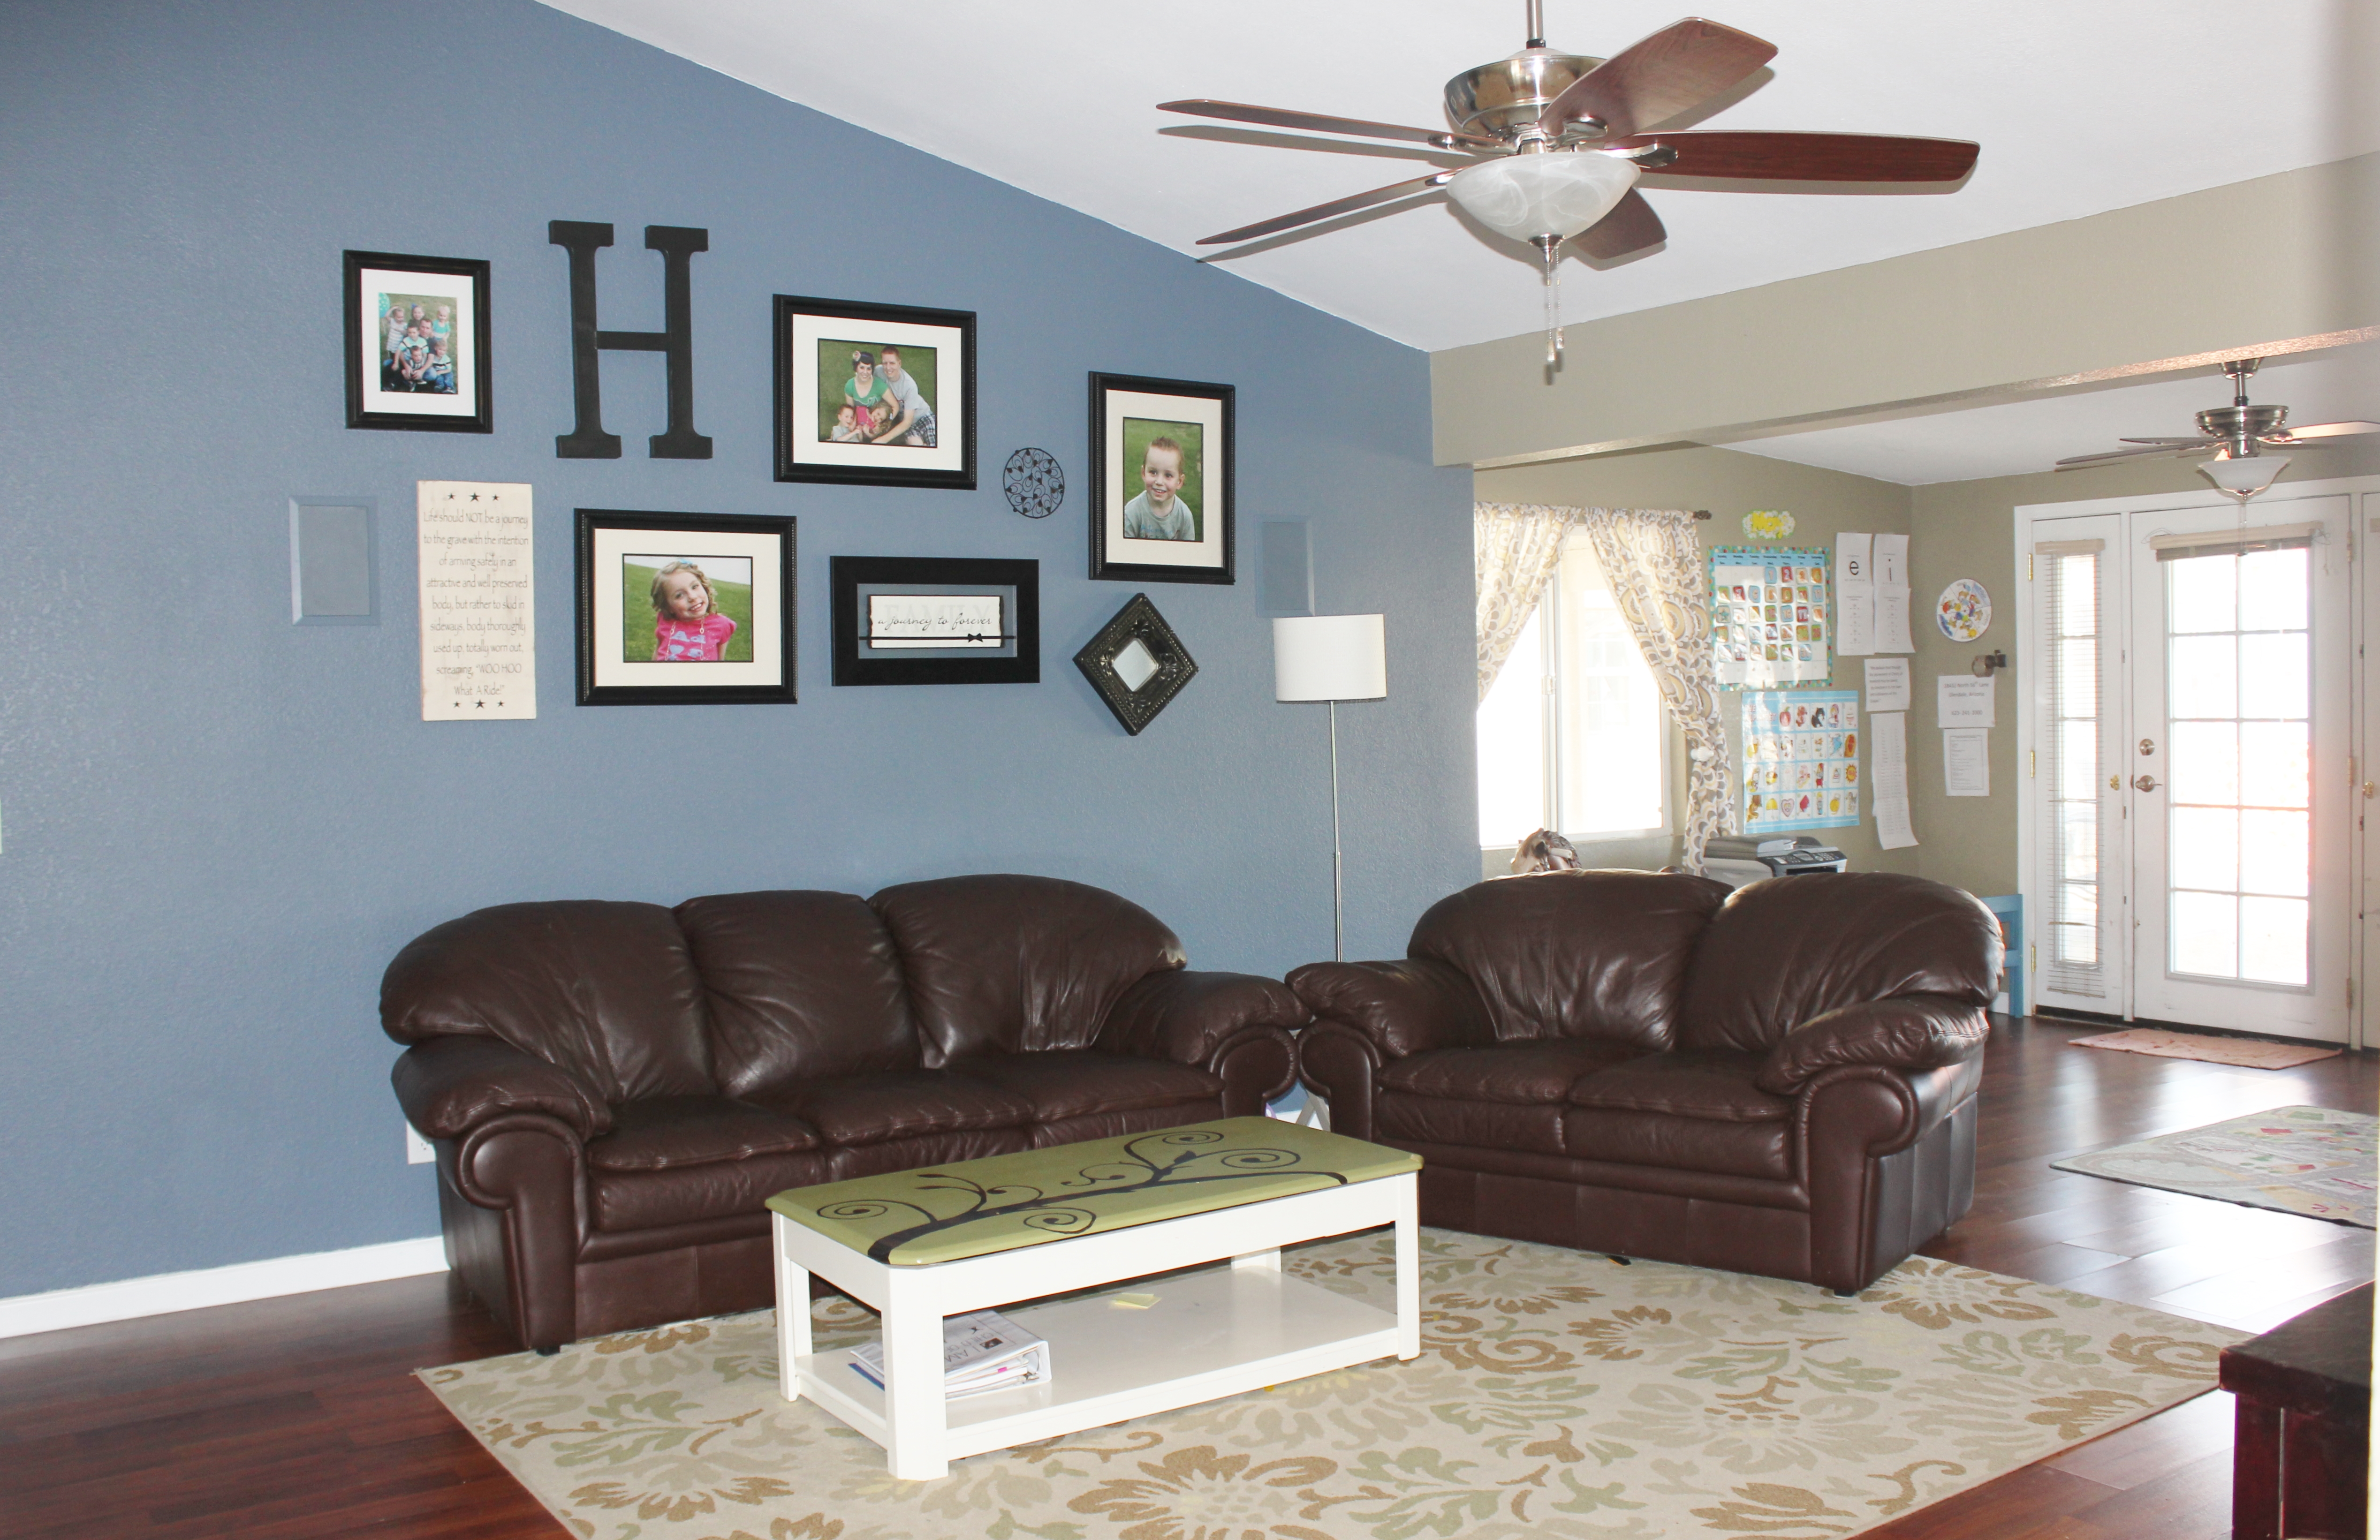
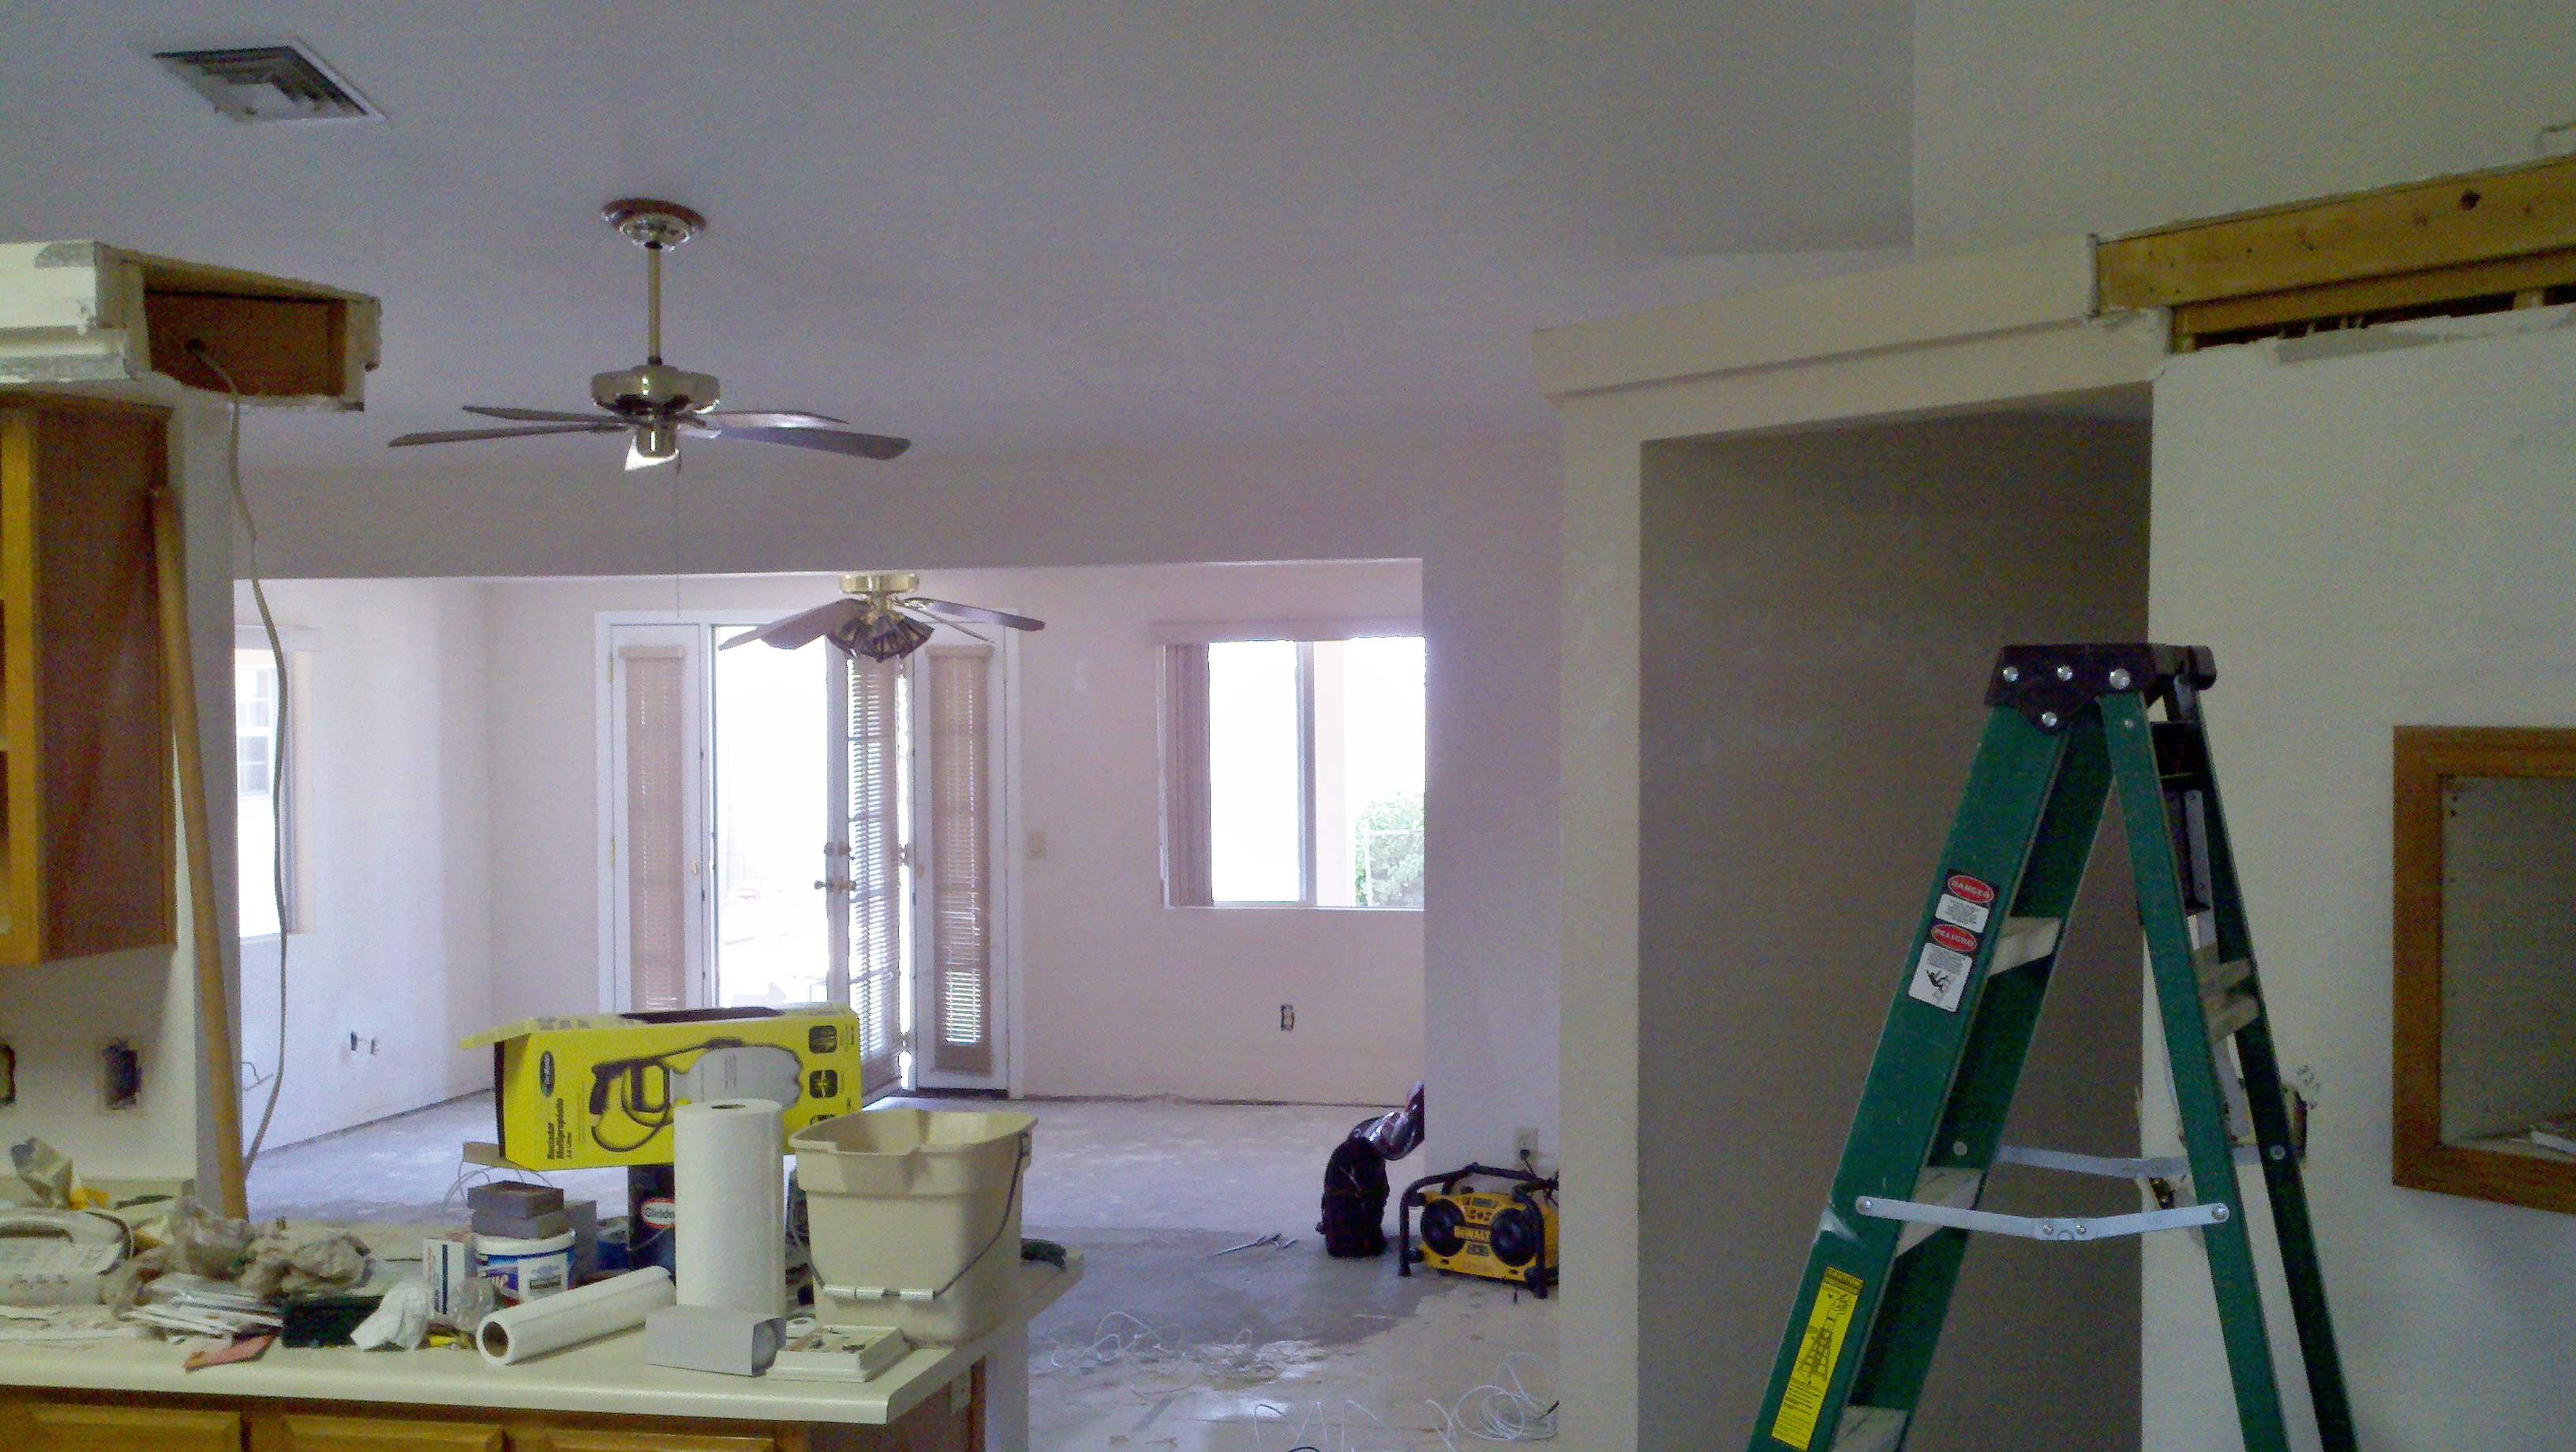 Looking from the kitchen into the living room.
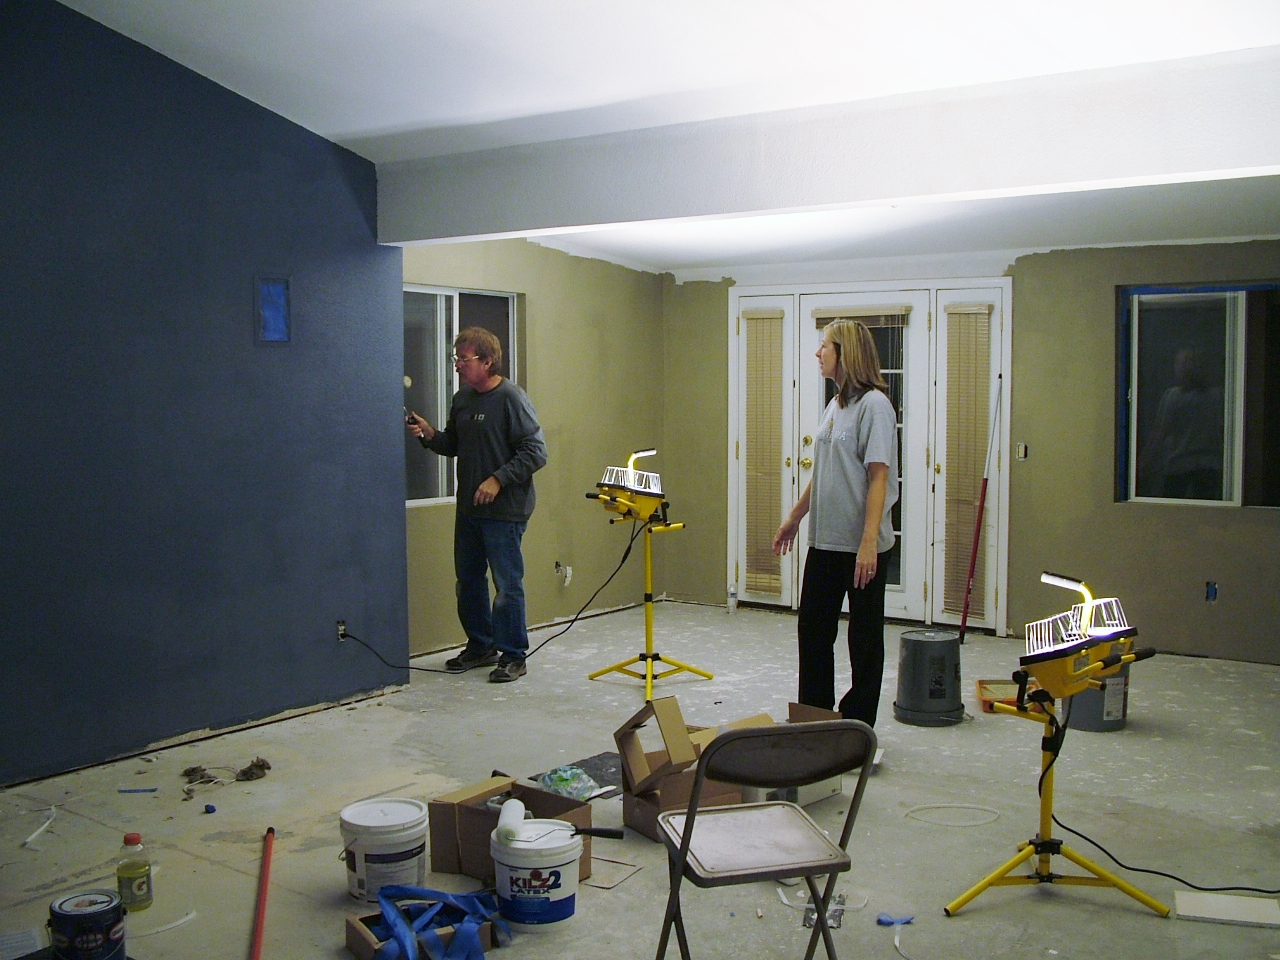 Josh recruited many family and friends to help paint and stuff. We have the best family!
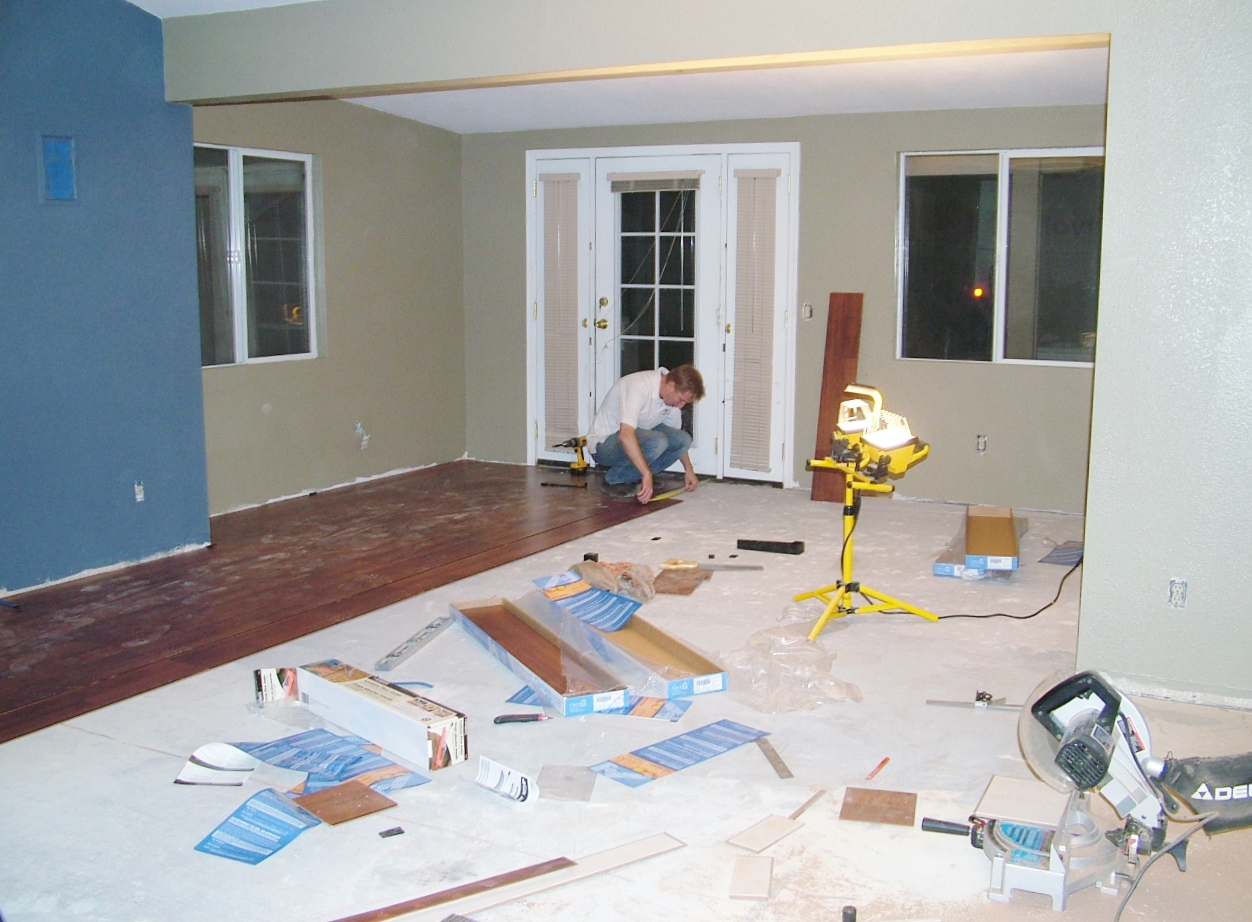
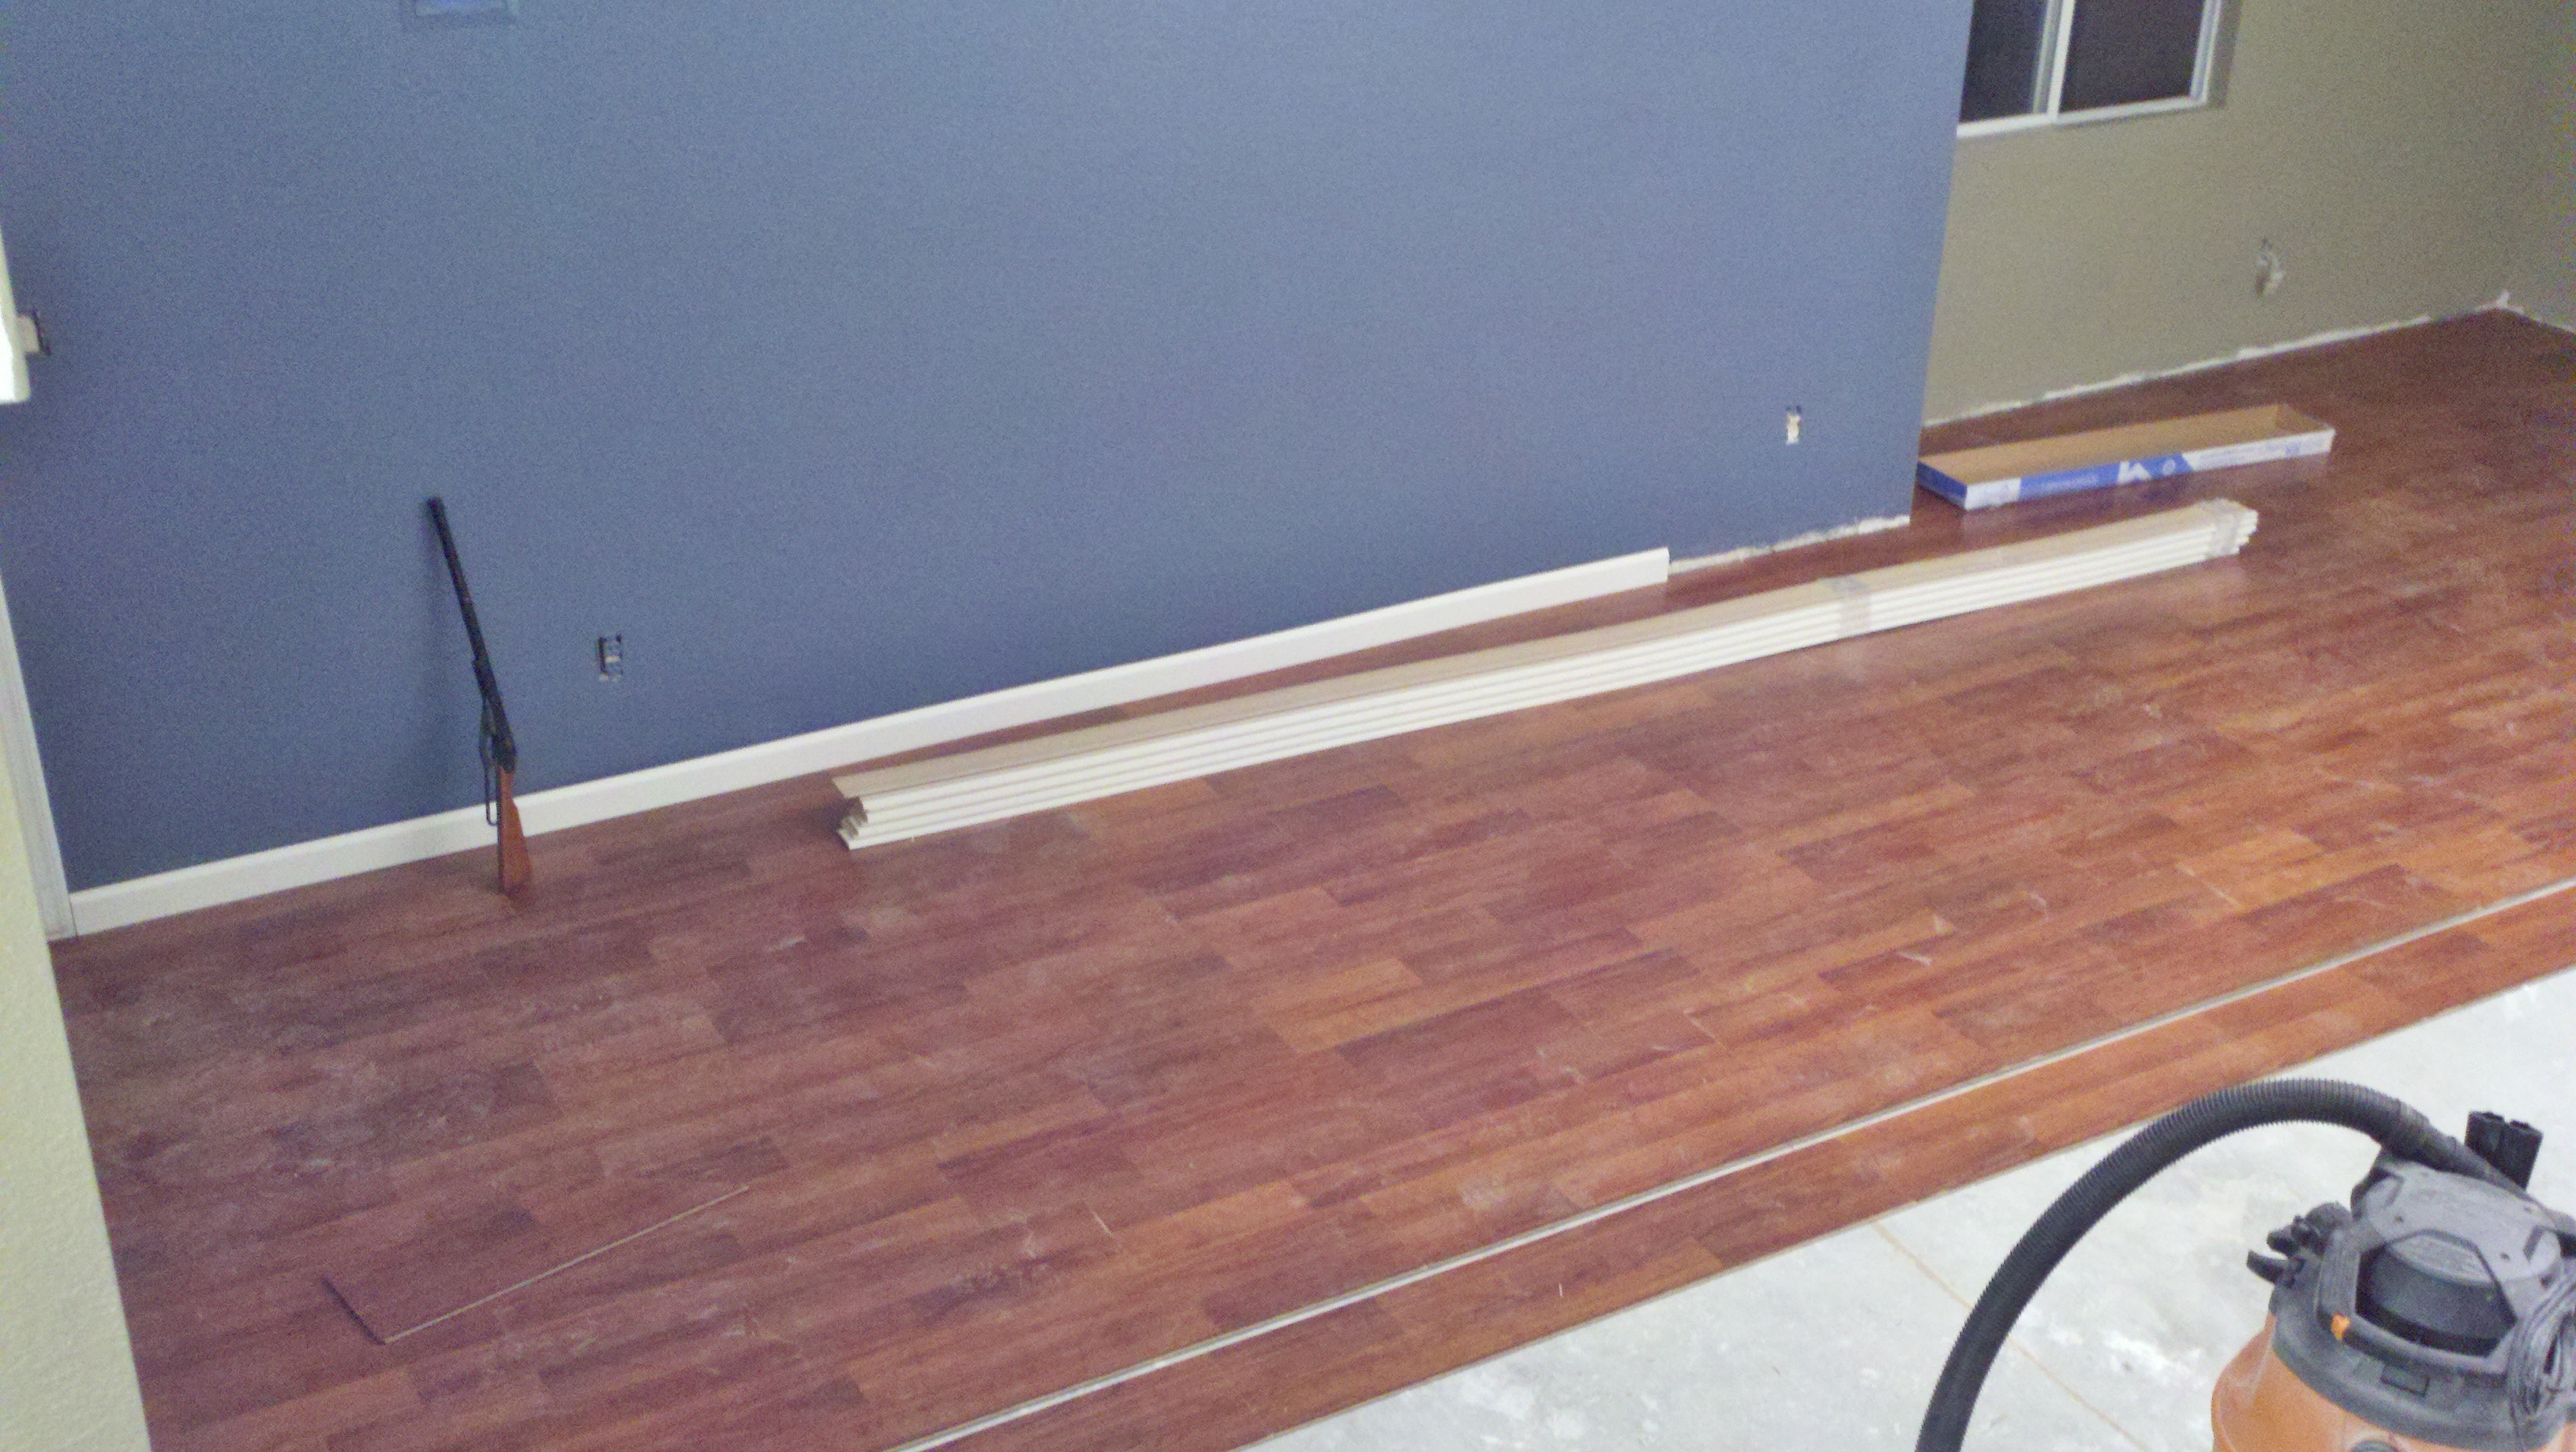 The bee-bee gun for shooting pigeons off the roof.
 I took Kaylee over to the house with me to check on a few things during reno. She passed out by the front door. The next photos are of the mostly done living room. I still need to finish caulking baseboards, and do some touch up painting.
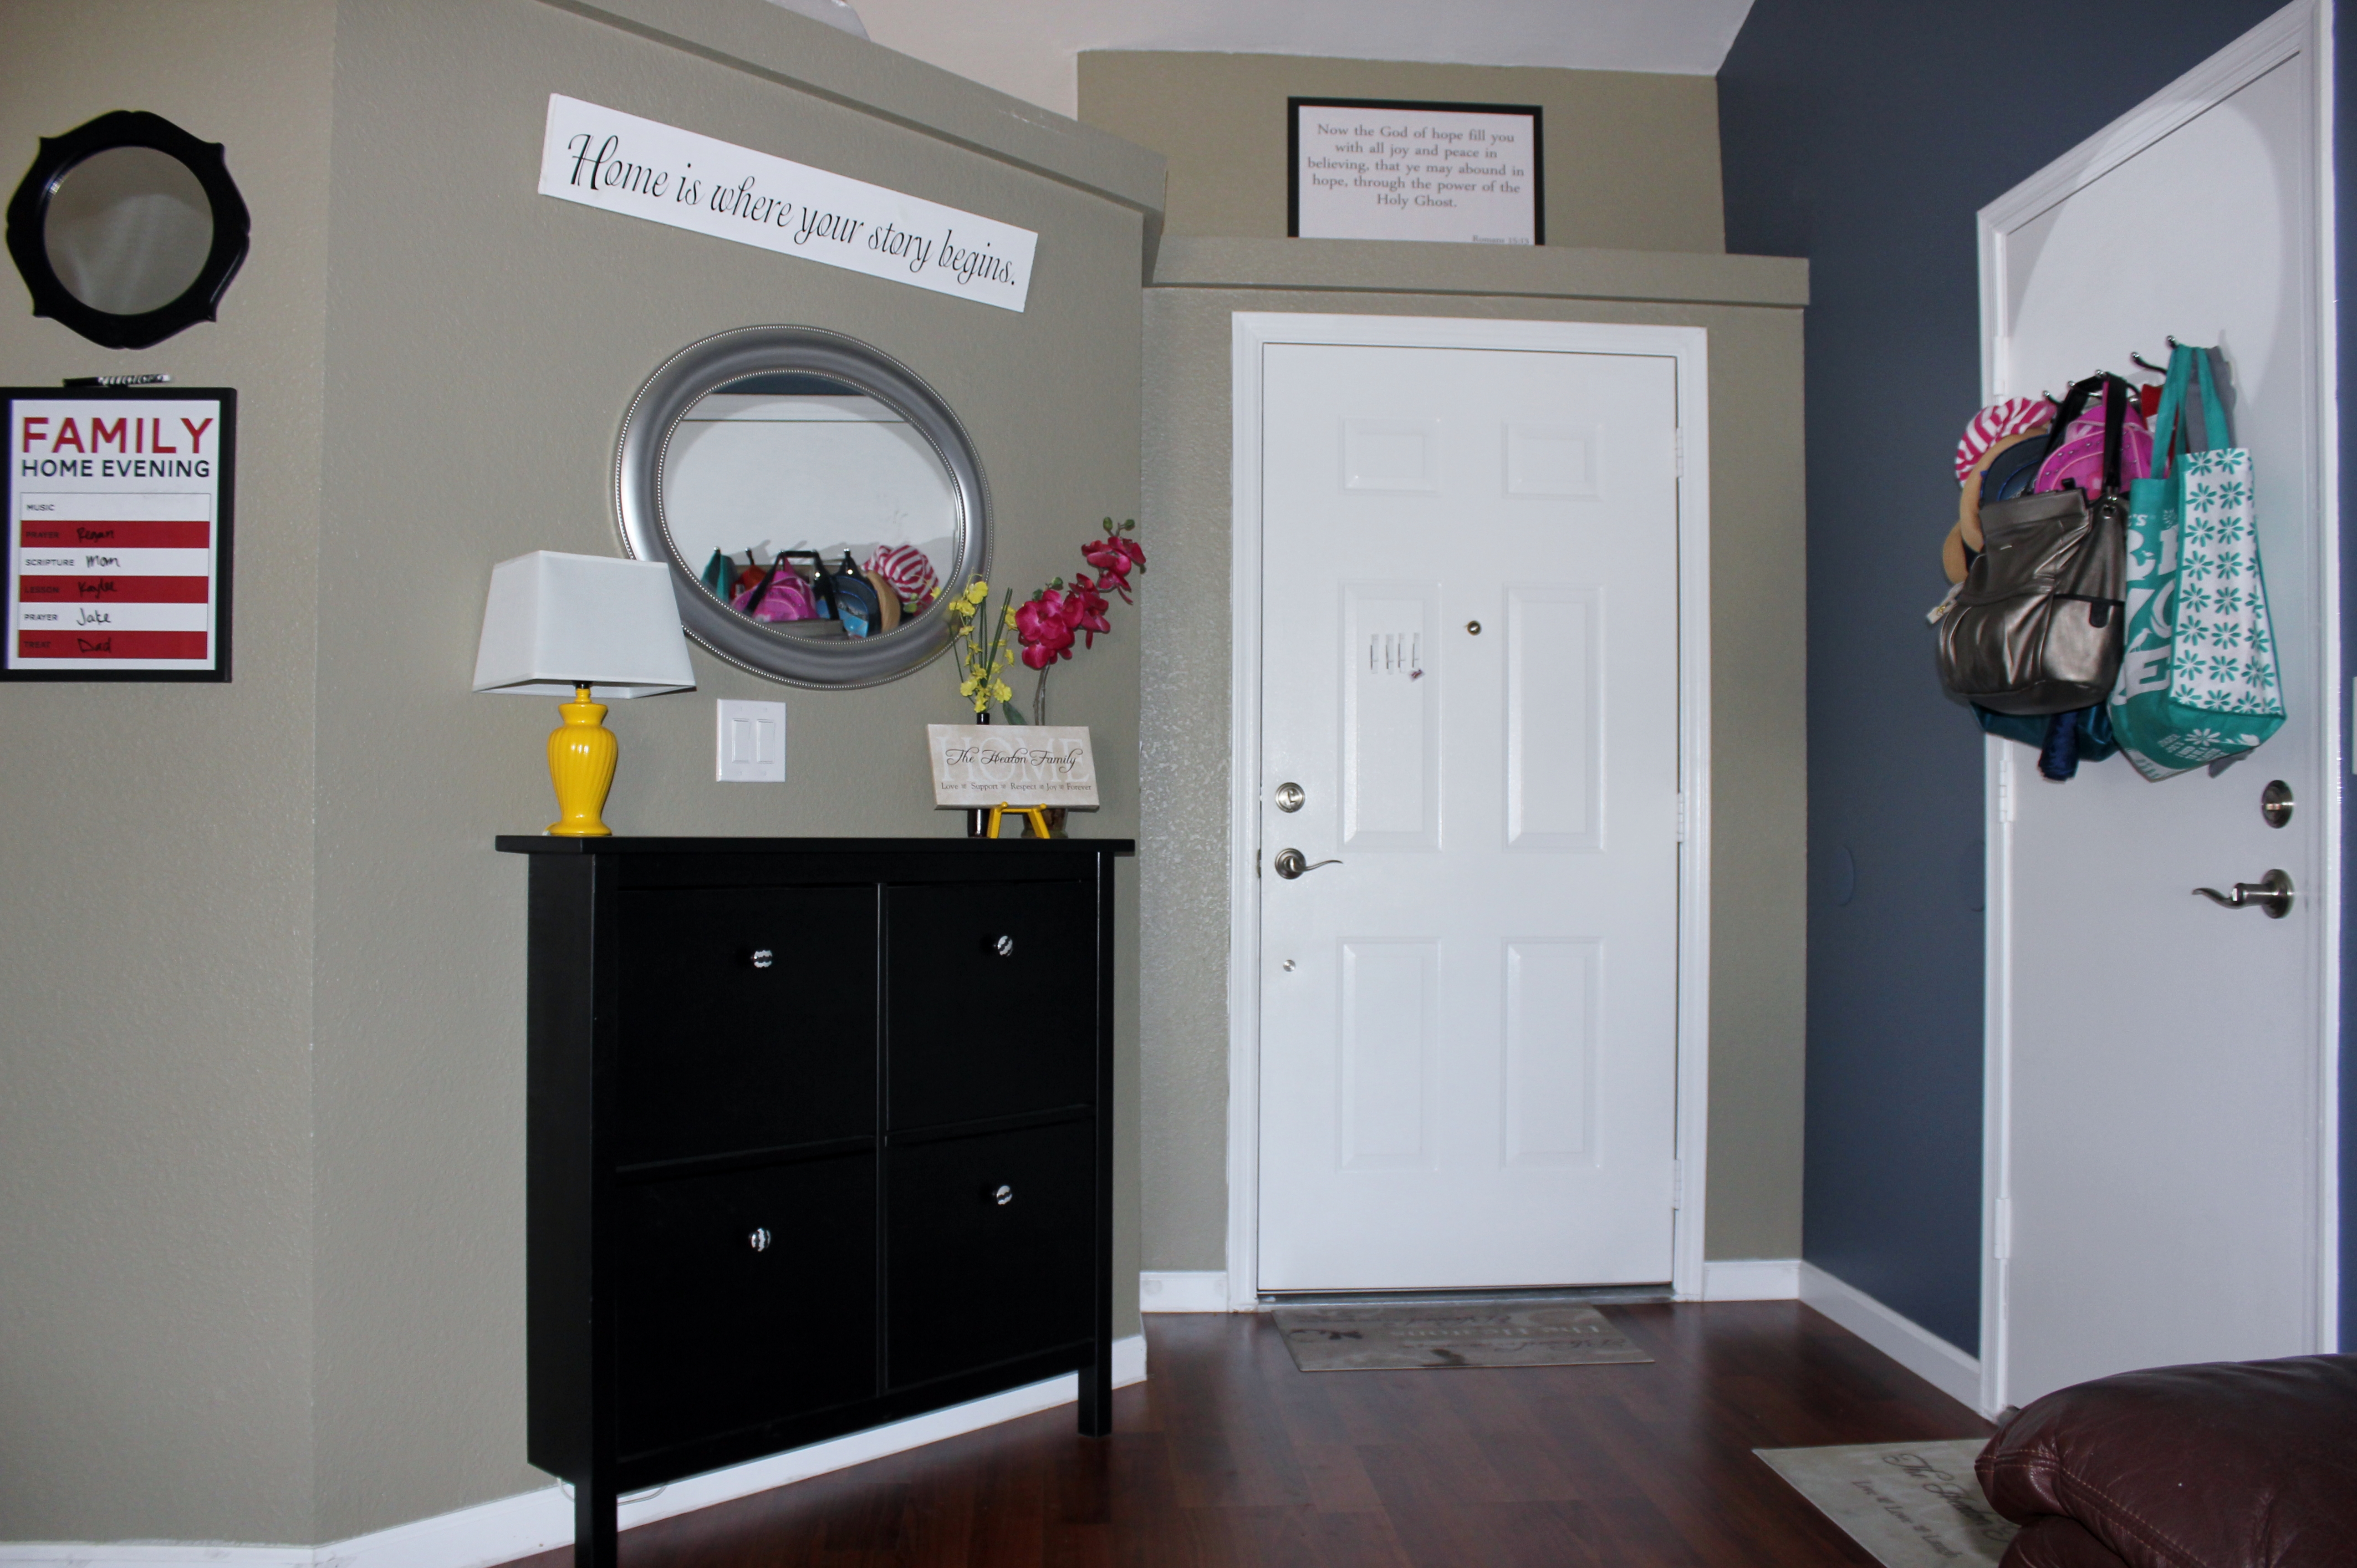 I got this AWESOME shoe dresser from Ikea. Inside those four drawers is a hot mess of shoes. 🙂
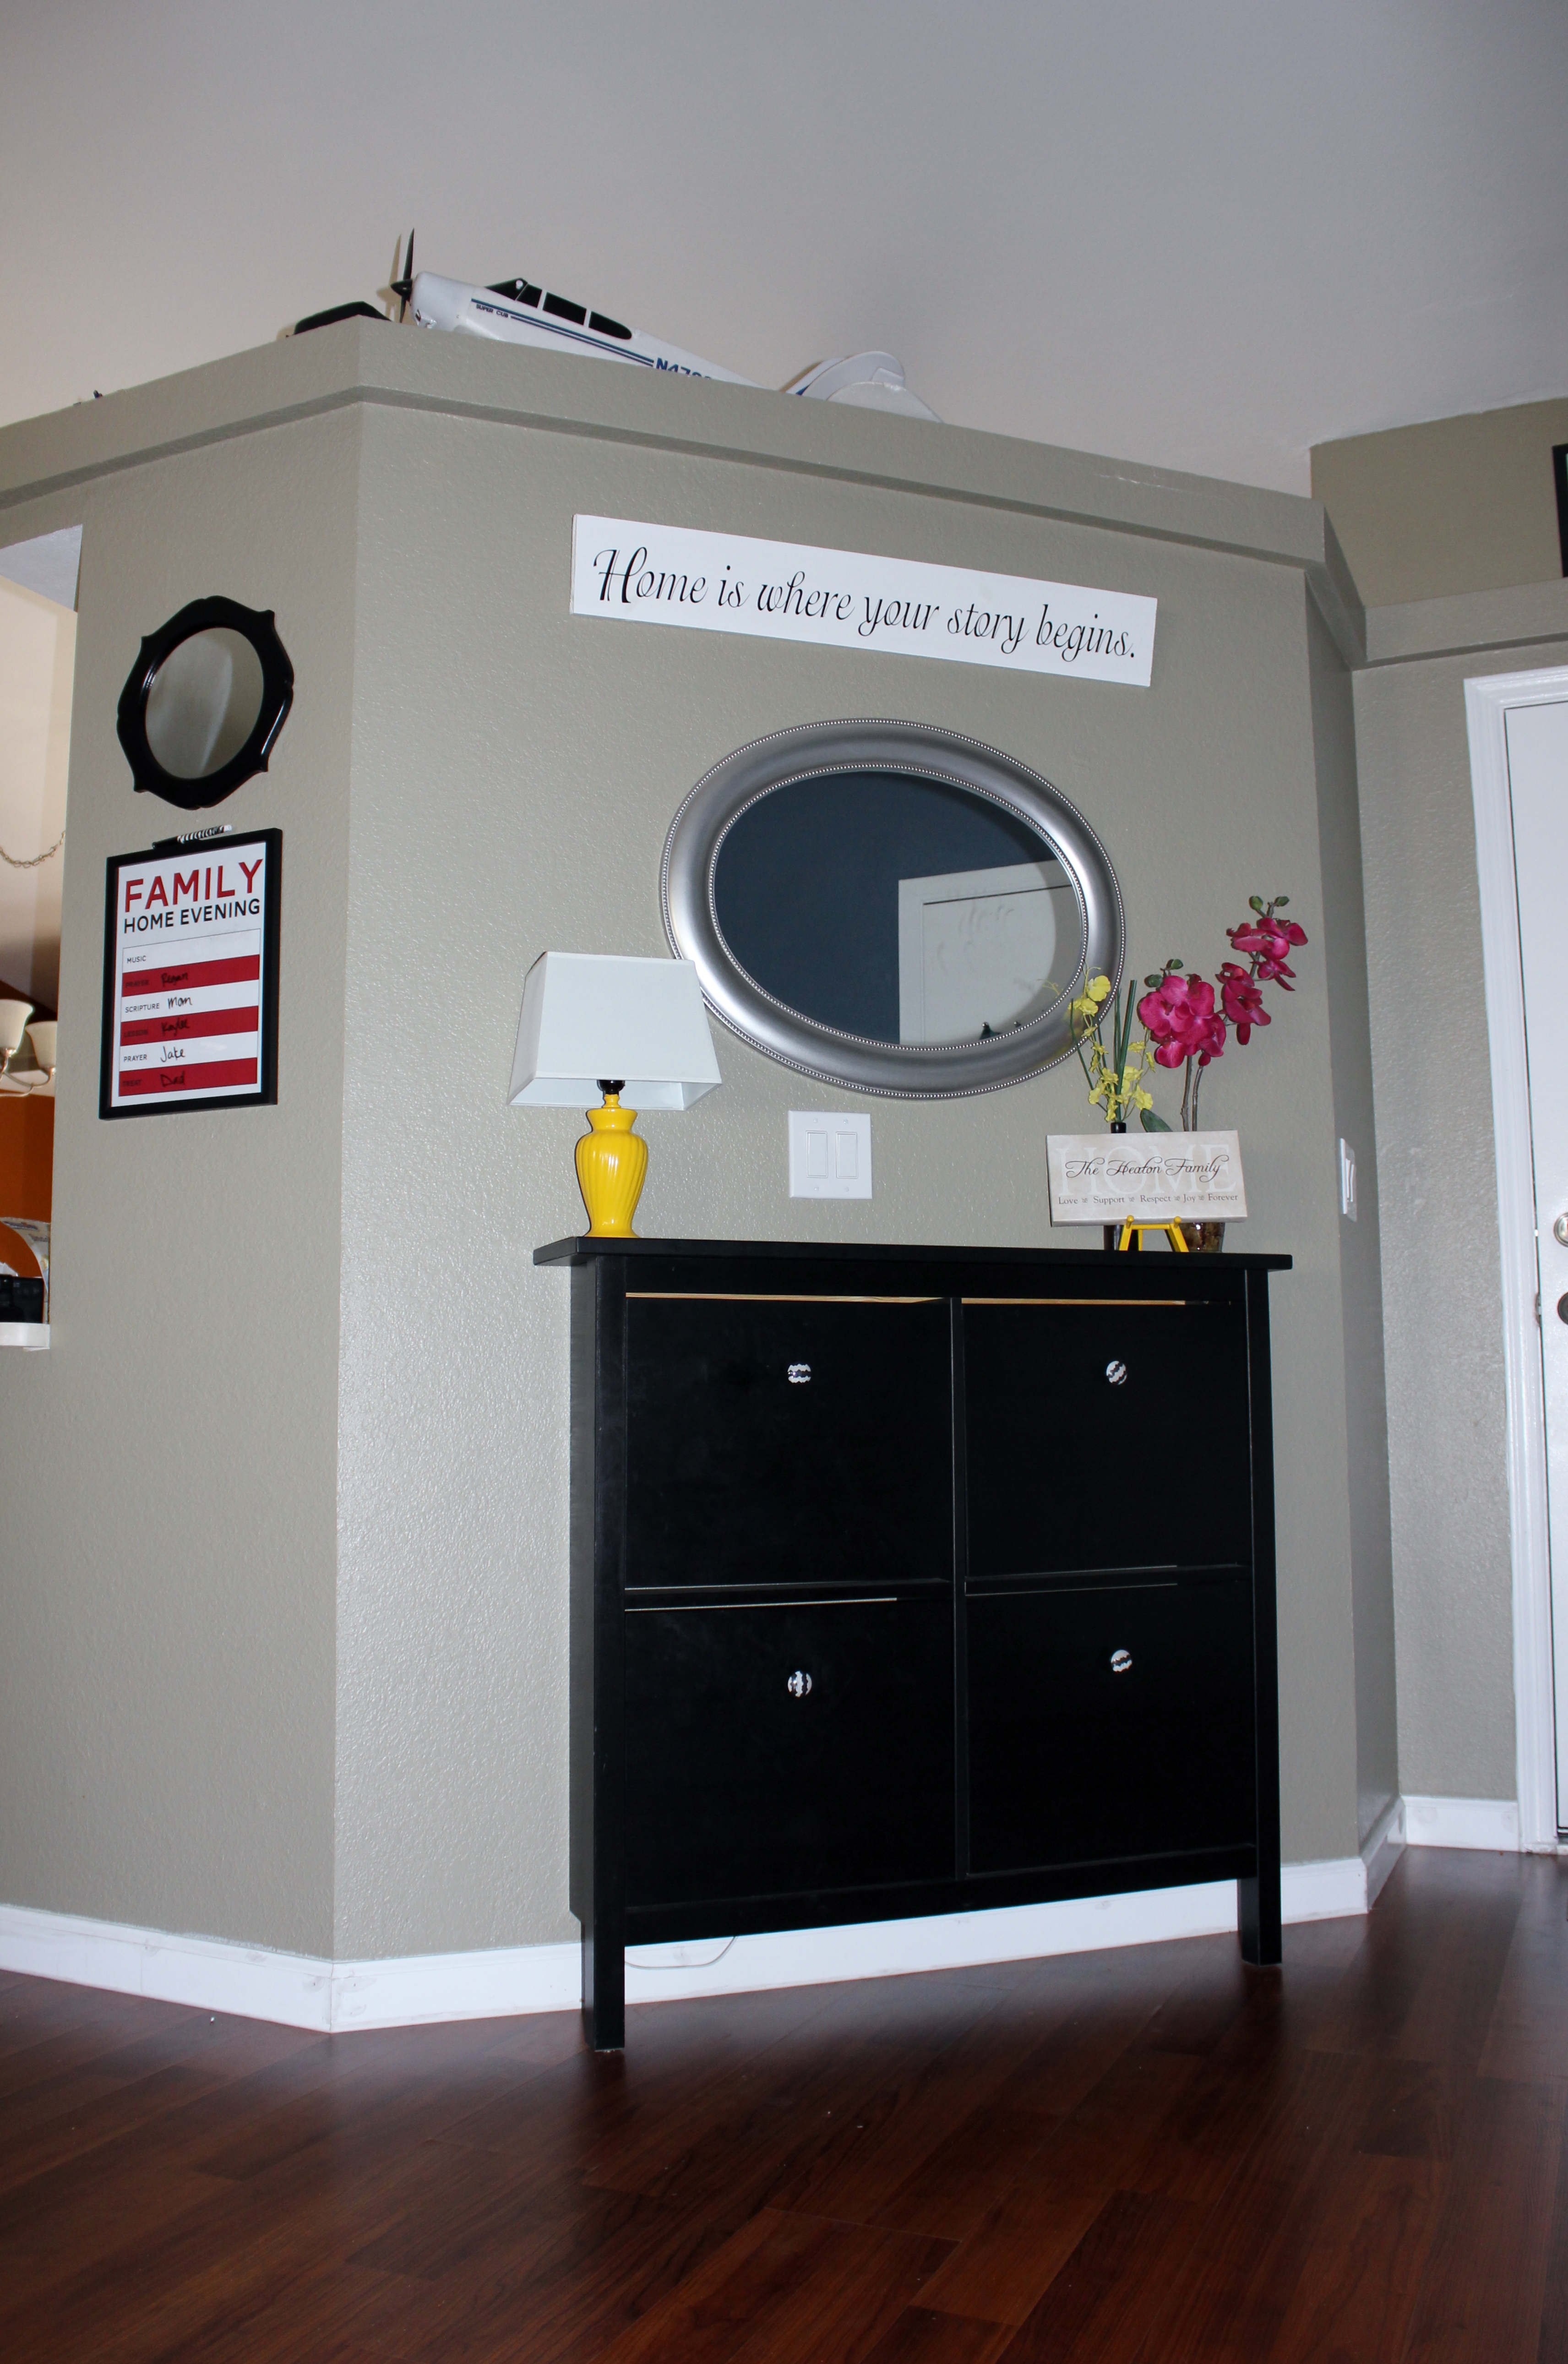
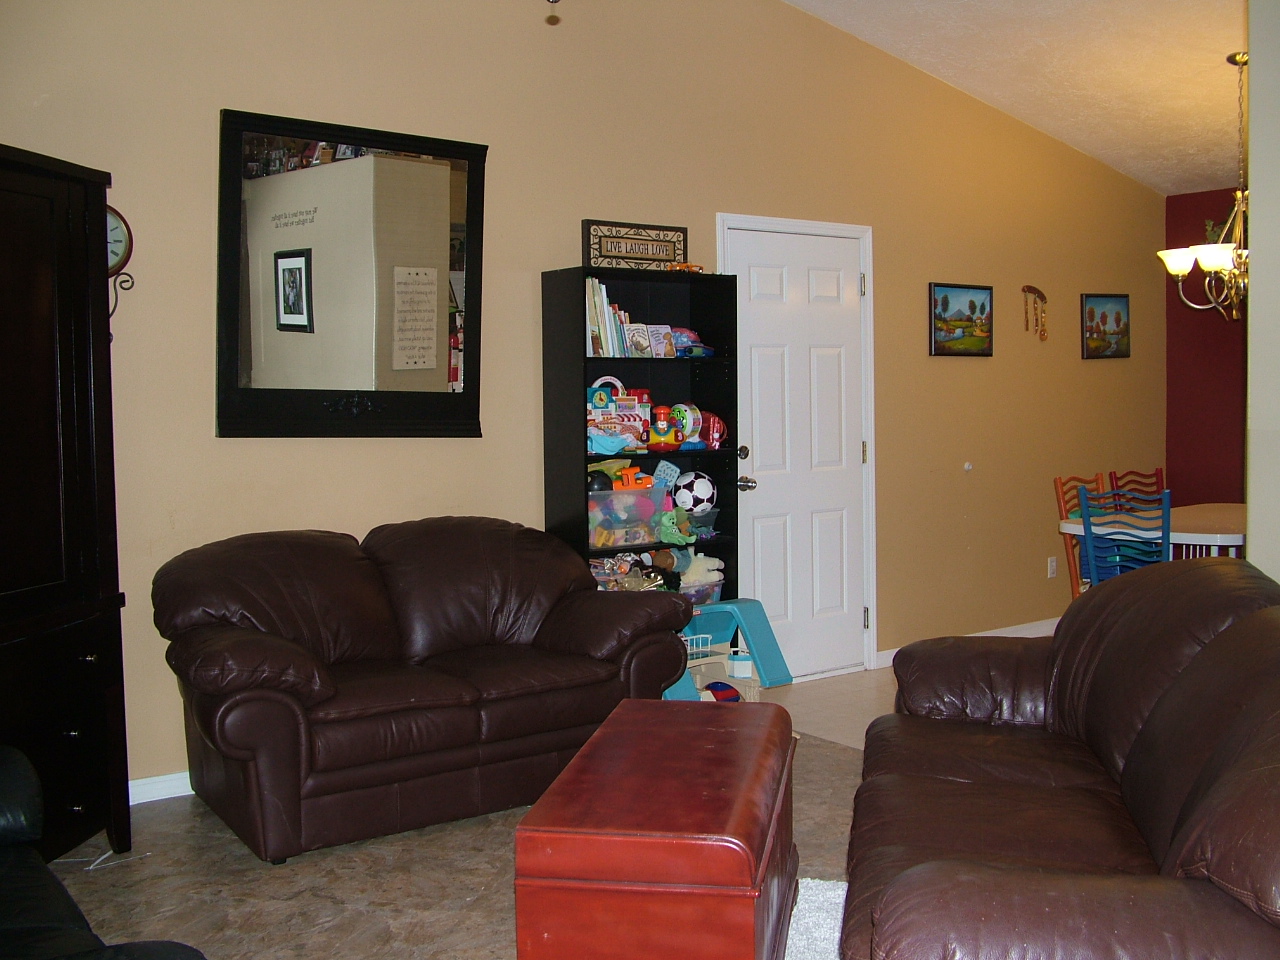
 My area rug is getting sort of sad…. I found a dreamy orange and white chunky stripped one online that I fell in love with. Dreamy as in it’s just a dream…… Pretend it’s there though.
 Looking from the play room toward the kitchen. I think Josh bought the biggest t.v. he could. I was not thrilled with having such a massive t.v. in the living room because I knew we would get used to it, and not be able to go back to a more reasonable size when it left. Jon and I are SO very used to having the giant bachelor t.v. It’s going away to Joshily house soonish. Jon has been eying replacements.
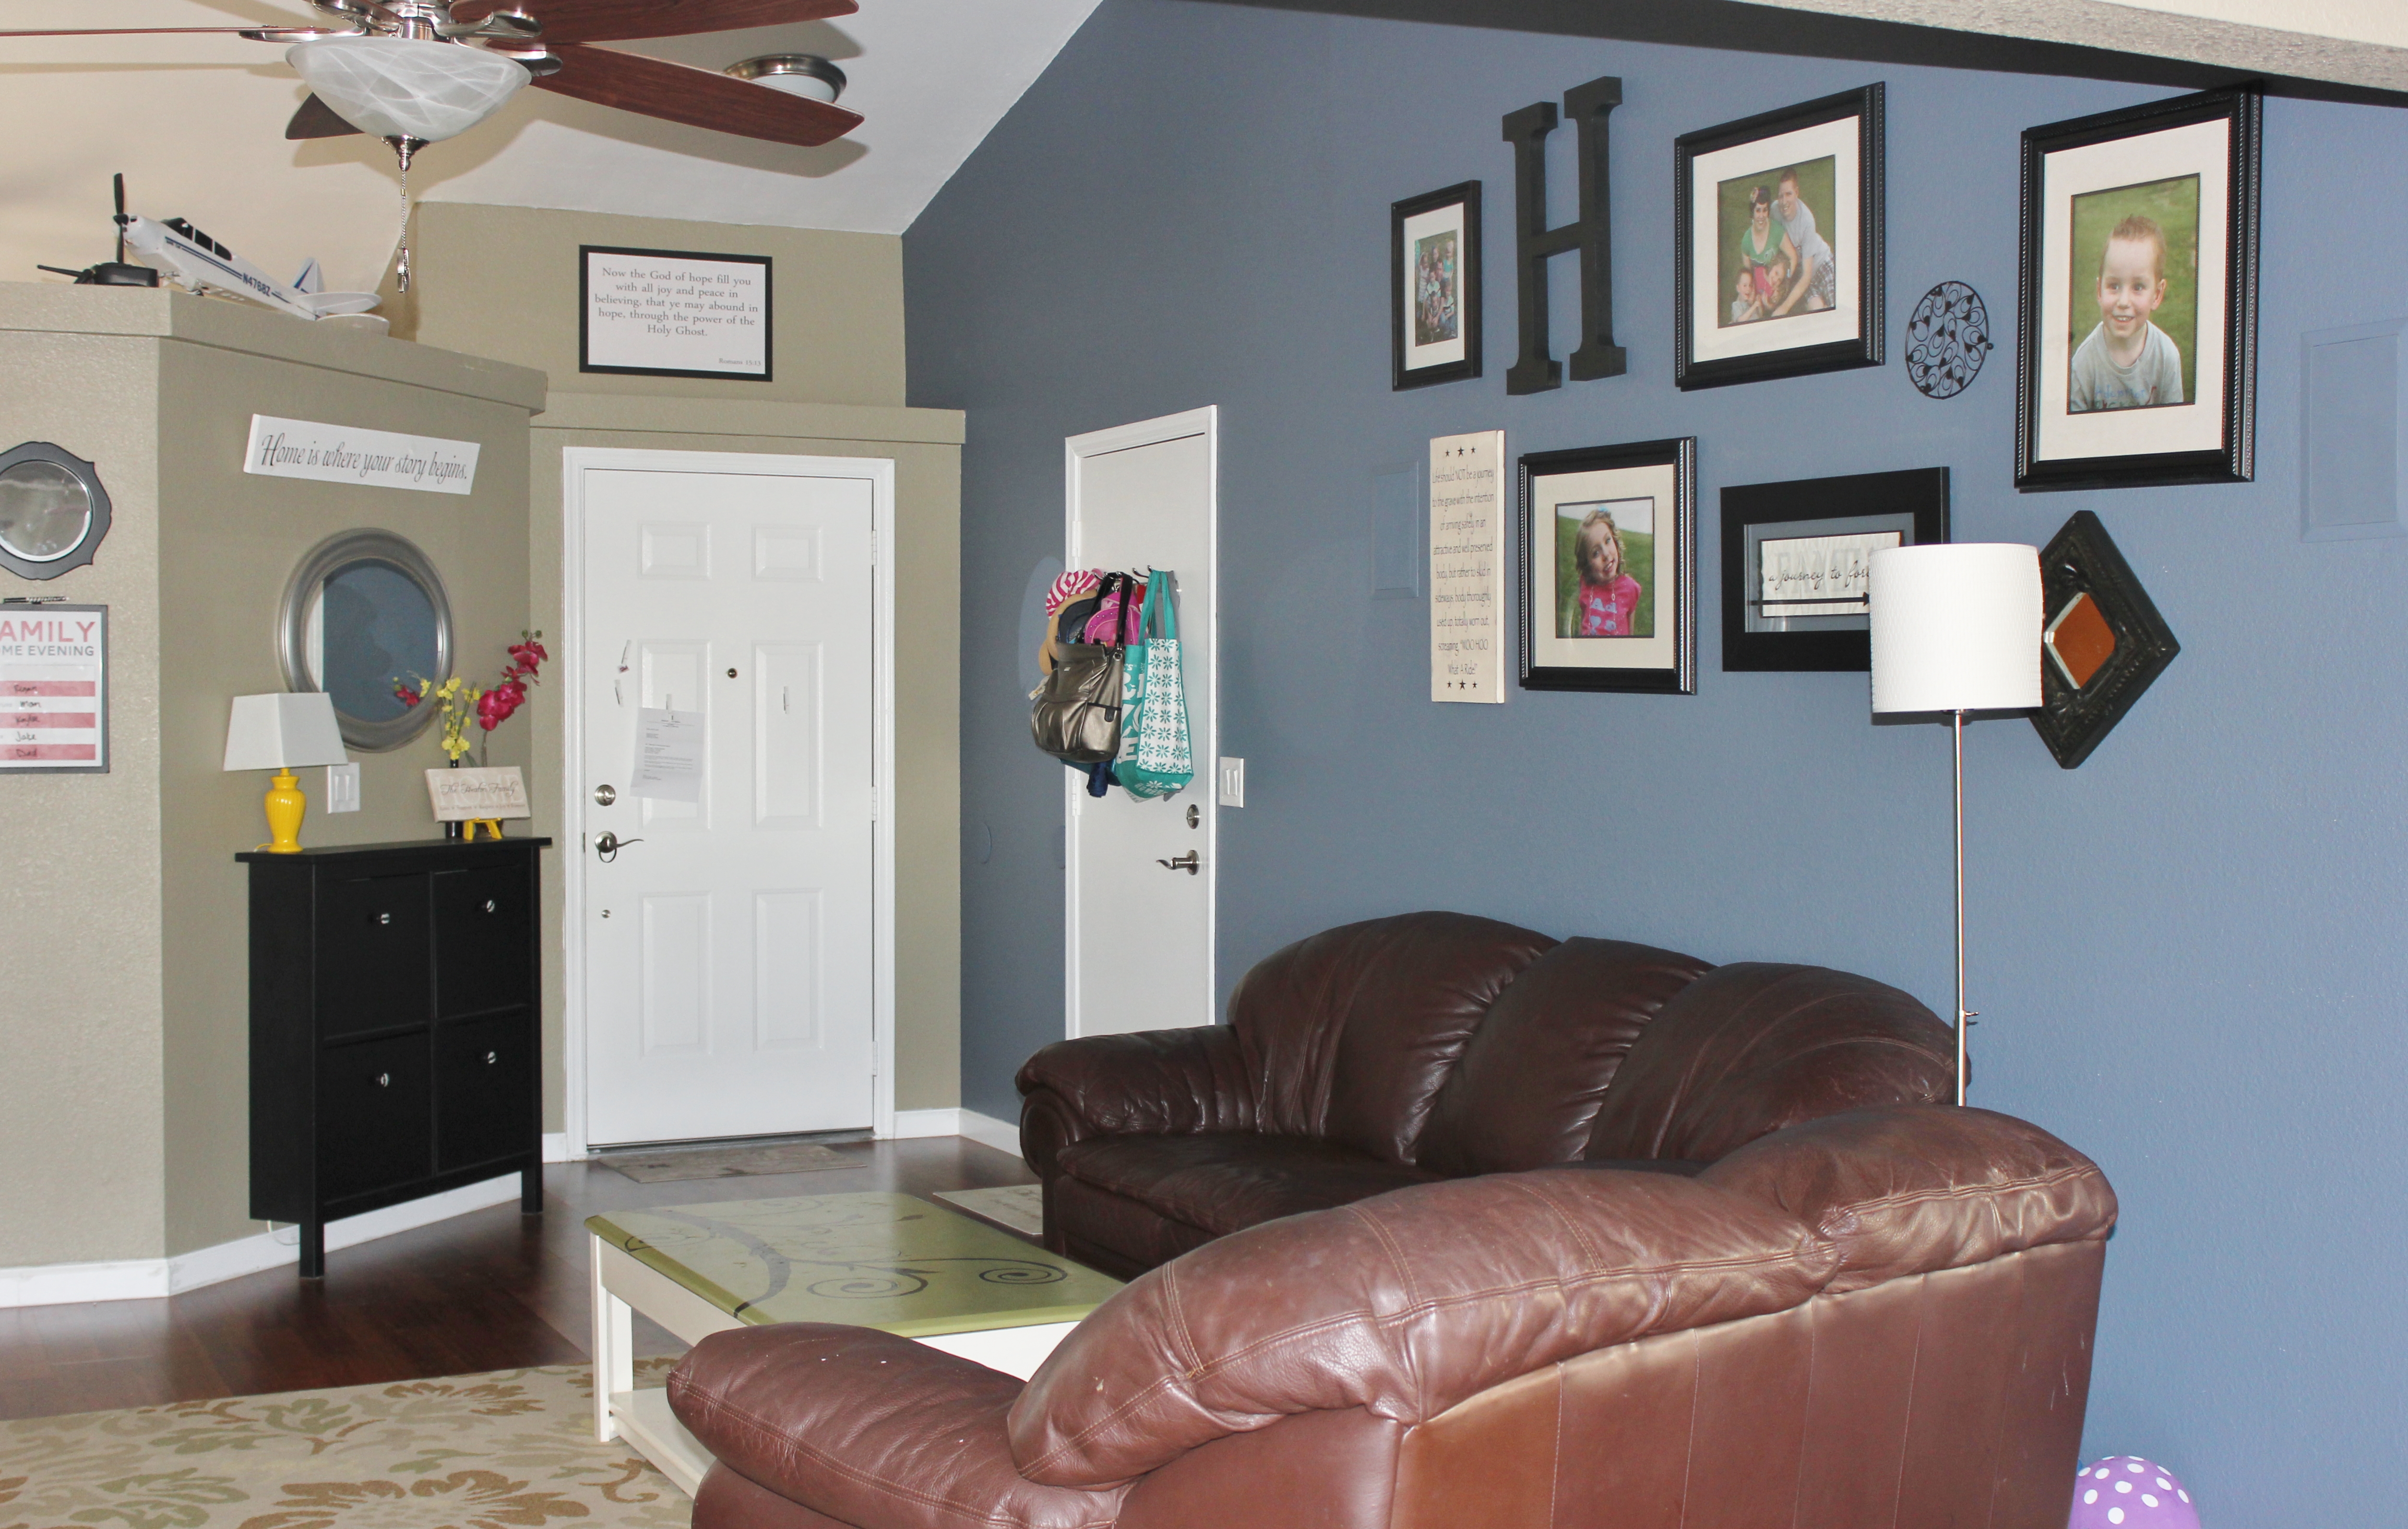
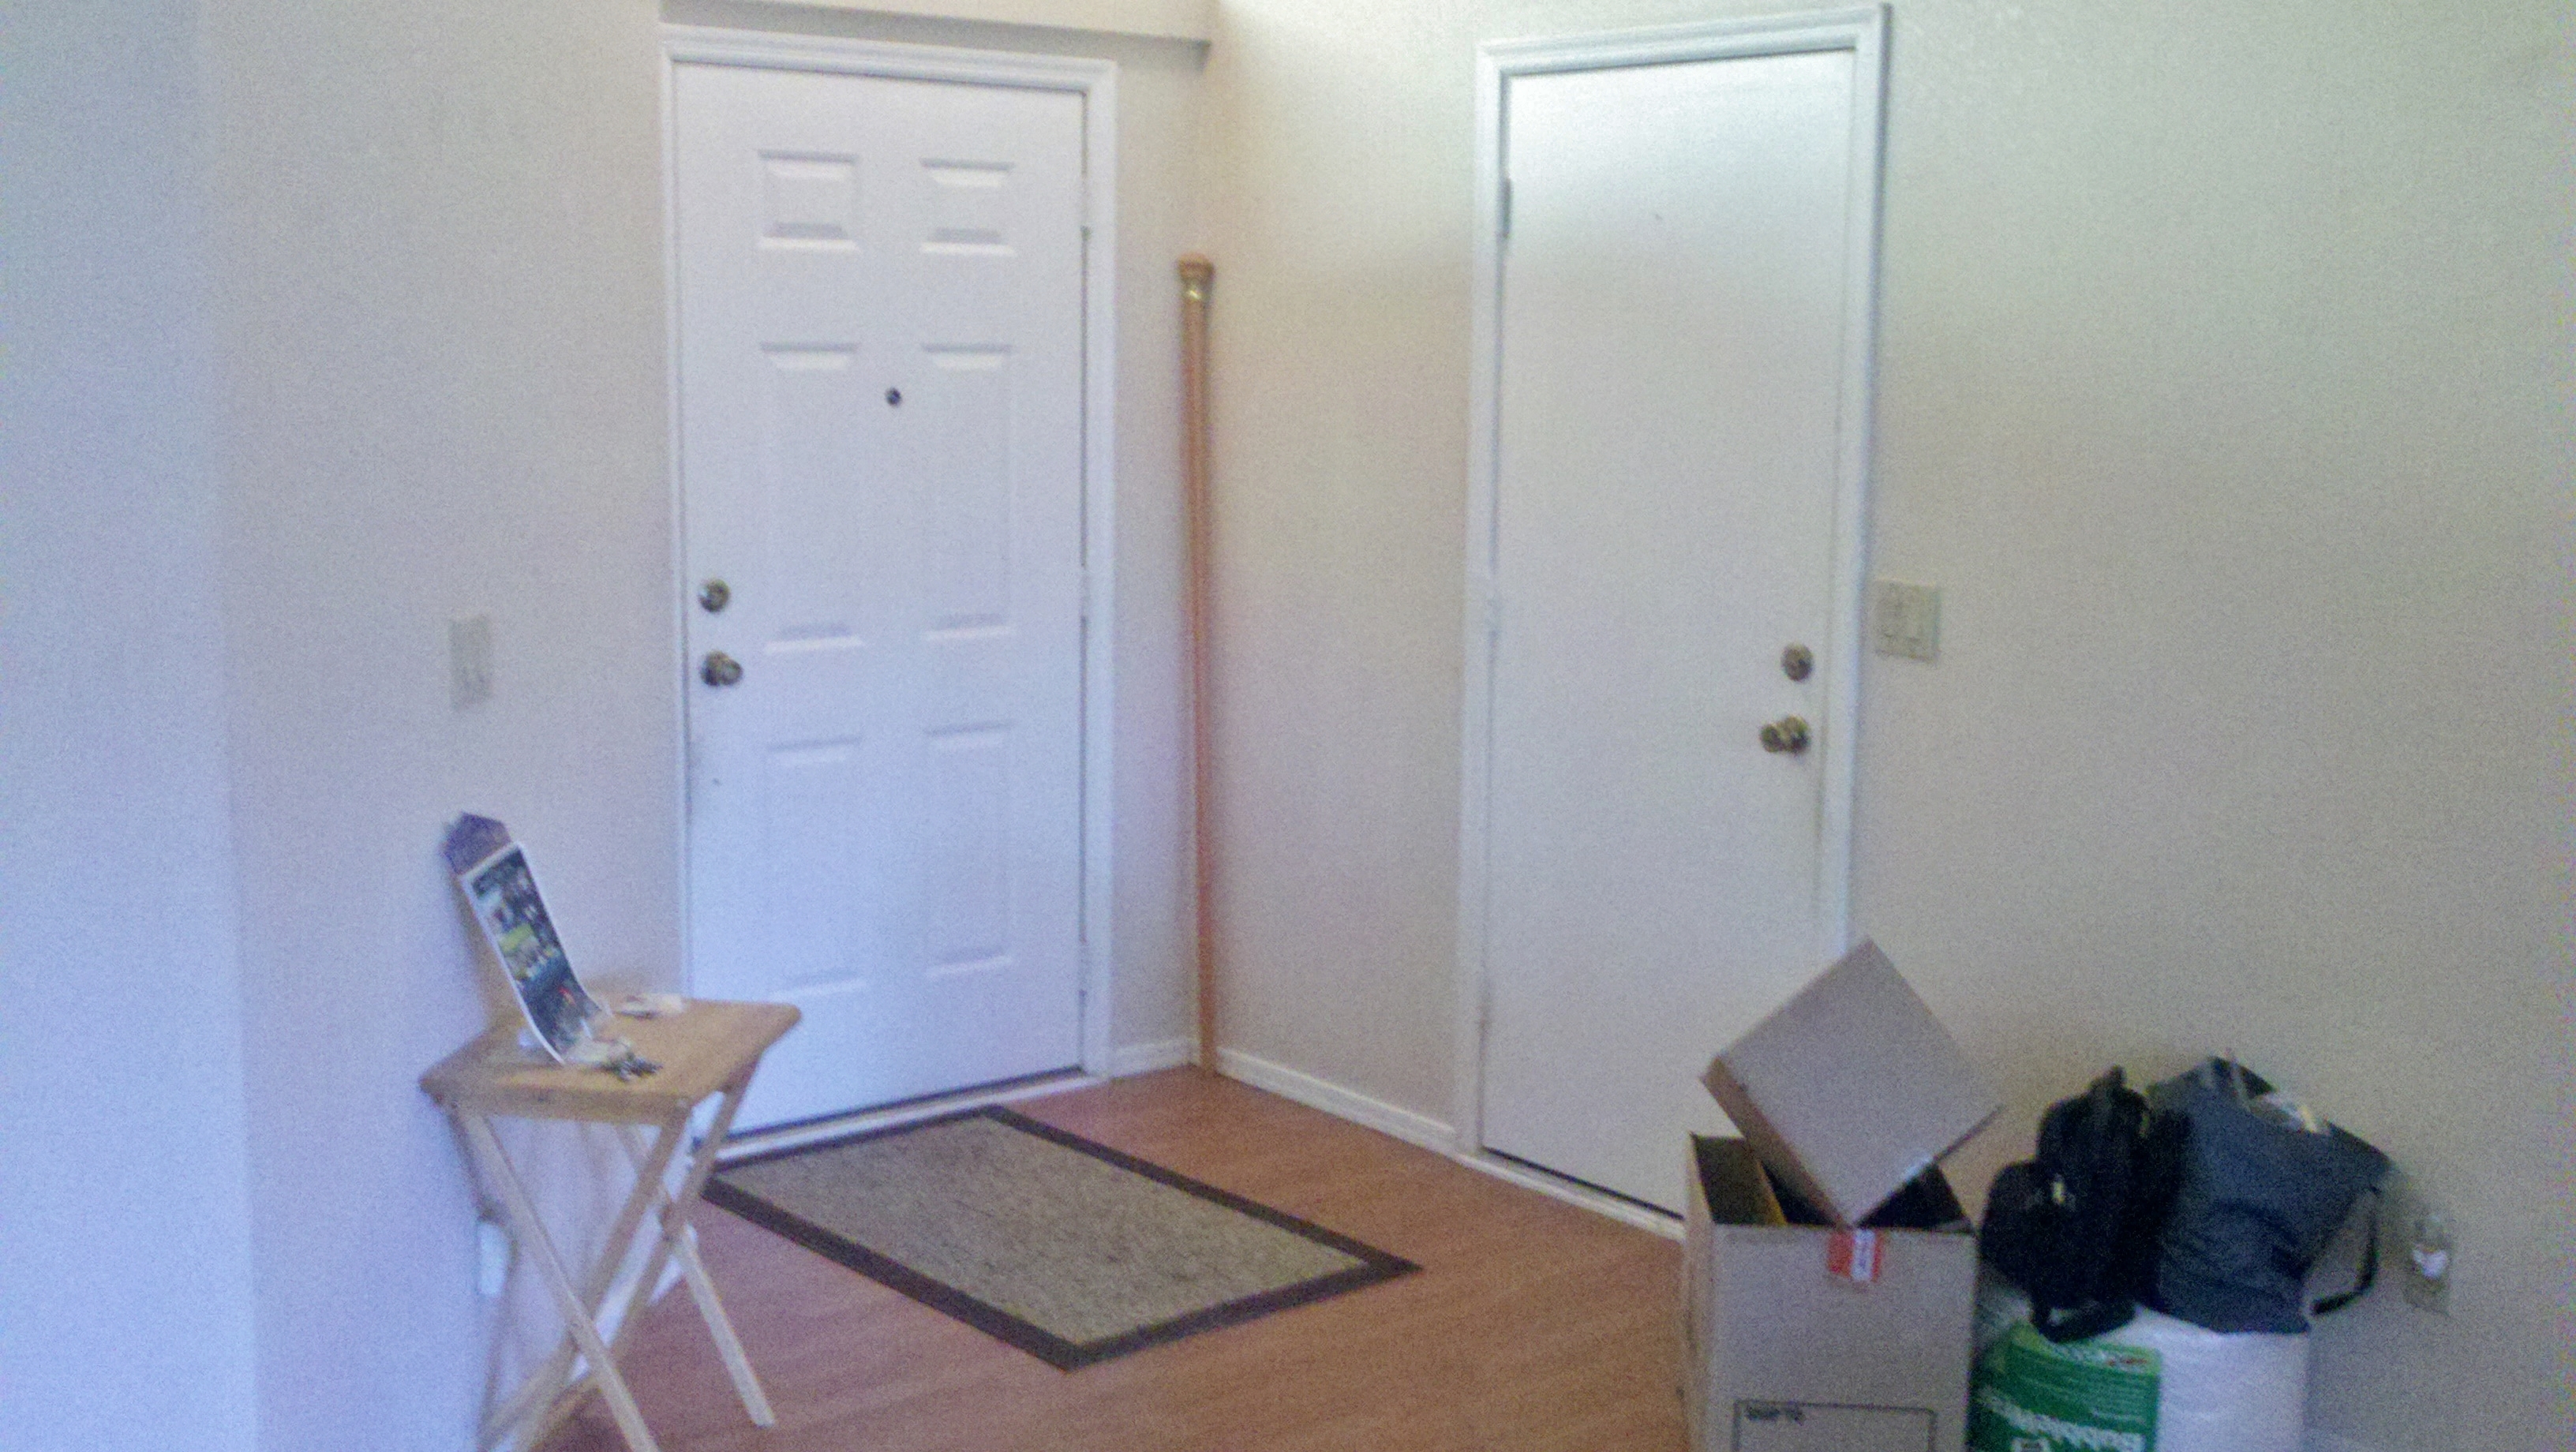
 Looking from the front door into the house. Jon says we need more color. I think the orange rug would be perfect……. 🙂